How to improve the Quality and performance of your VR games?


Hey there, are you a VR developer and struggling with the quality and performance of your VR game then you have come to the right spot as in this blog I will be talking about some of the steps and configurations that you can do to improve your VR game's quality and performance, so let's get started.
Prerequisites
Unity Hub
Unity Editor any (recommended 2020 LTS)
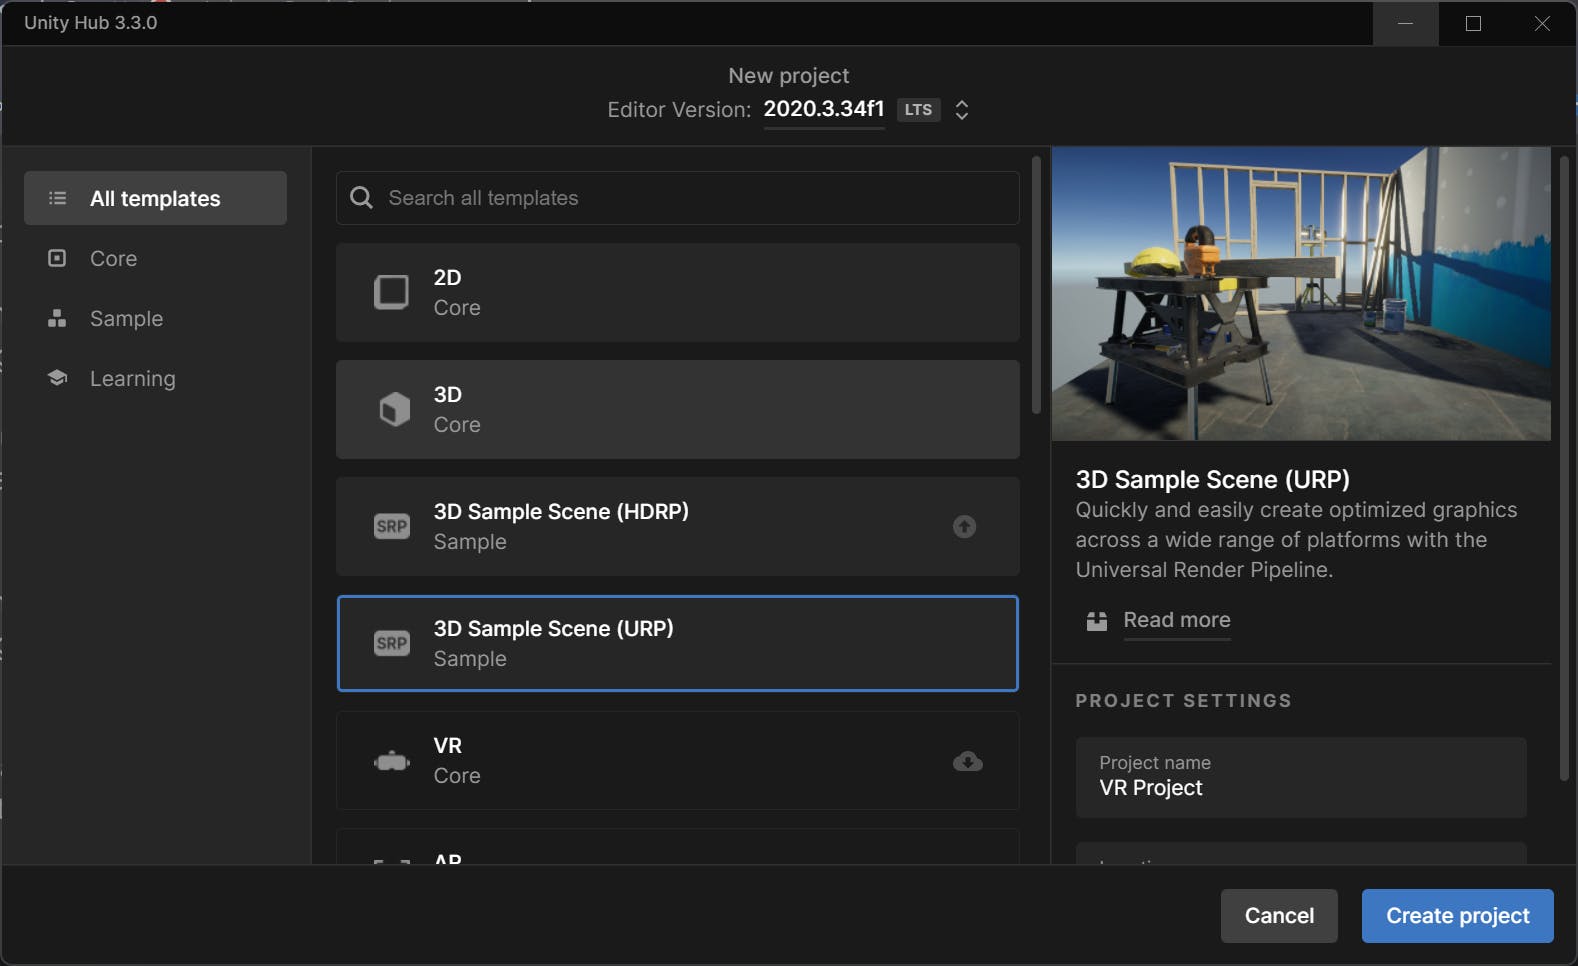
Let's start with creating a new unity project, so open the unity hub, go to projects and create a new project with the 'Create Project' button
You can choose any template but I would recommend URP for more high performance and quality. Now create the project.
How to change the standard pipeline to URP
Some of you might have started your project and after some development got some glitches and quality issues and may not be created with URP but a standard template, don't worry you can too catch up with us. For those with standard or other templates simply go to the Package manager and search in the Unity registry for Universal Render Pipeline.
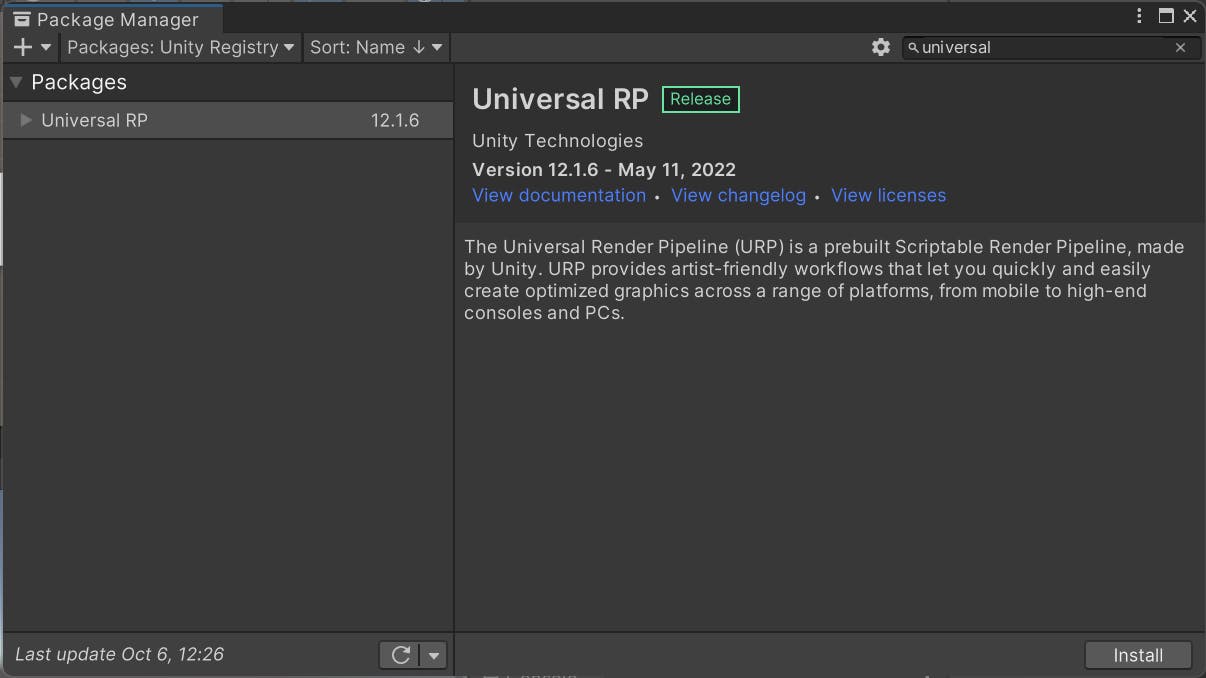
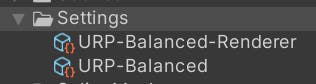
After you got the search result simply install the package. After you install the package close the package manager. If you had started your project with URP, you would get some sample assets like URP-Balanced and URP-Balanced-Renderer. But no problem I am providing you a unity package containing this asset. Simply go to my GitHub repo from here and import the package into your project. Now let's configure your project to URP.
As you imported the package a new folder would be created namely Settings containing both the urp asset in the project tab.
Now navigate to Edit > Project settings
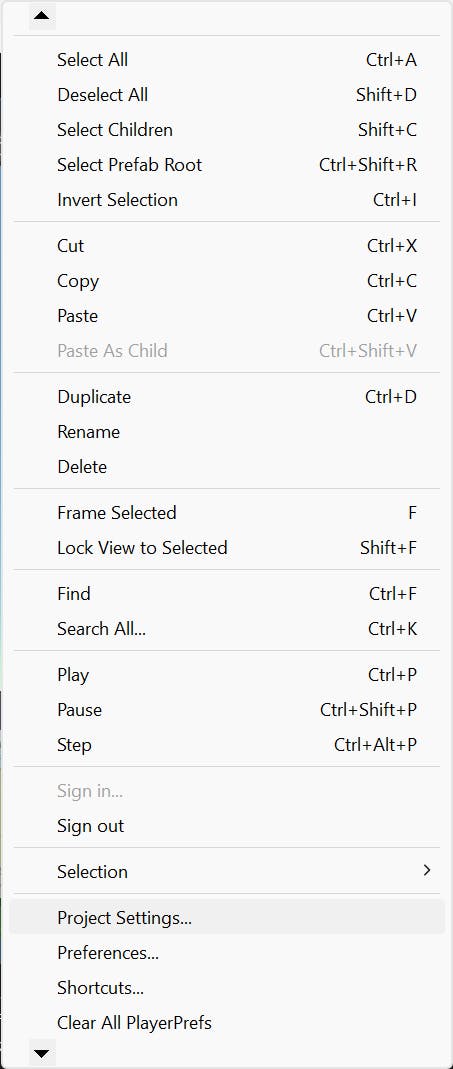
and go to Graphics to change the Scriptable Render Pipeline Asset to URP
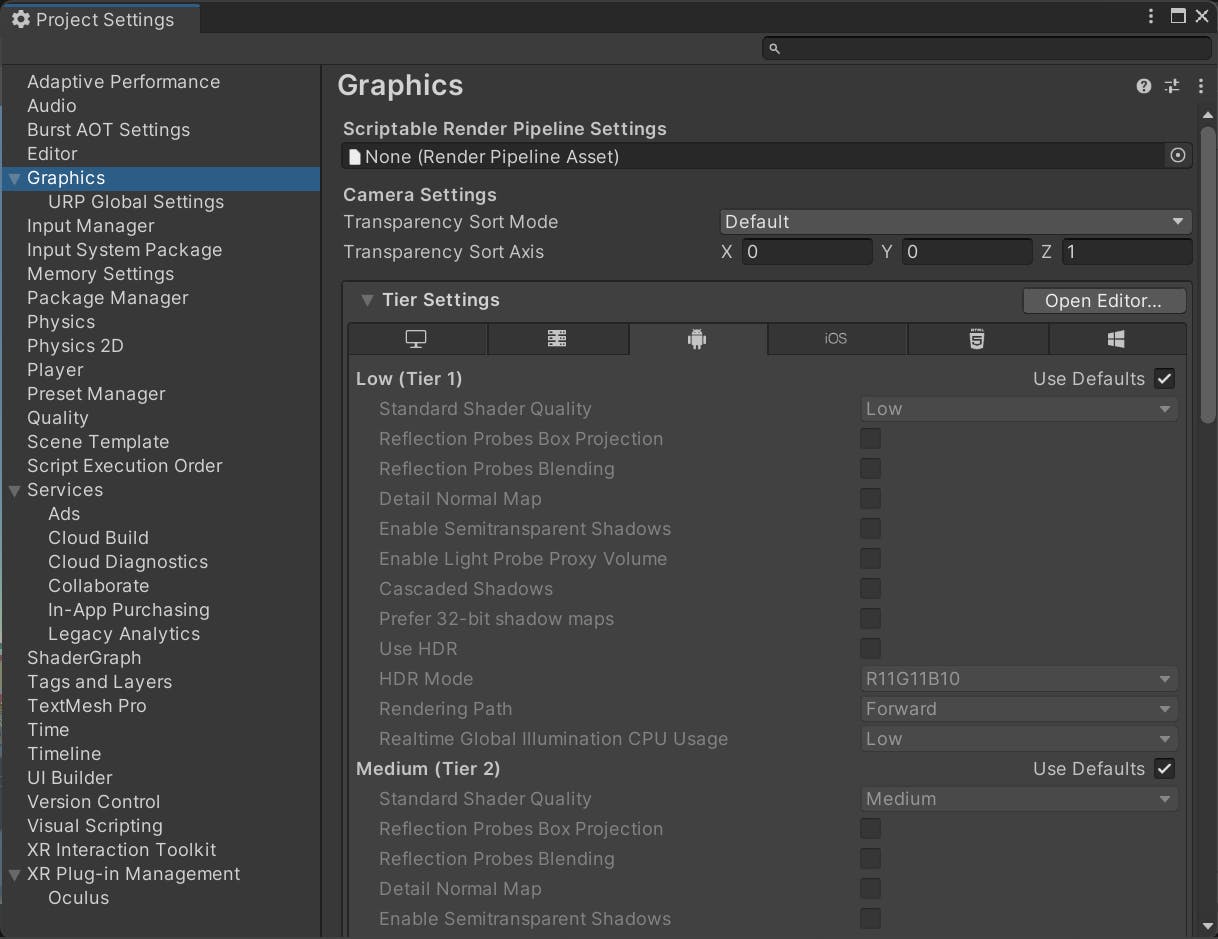
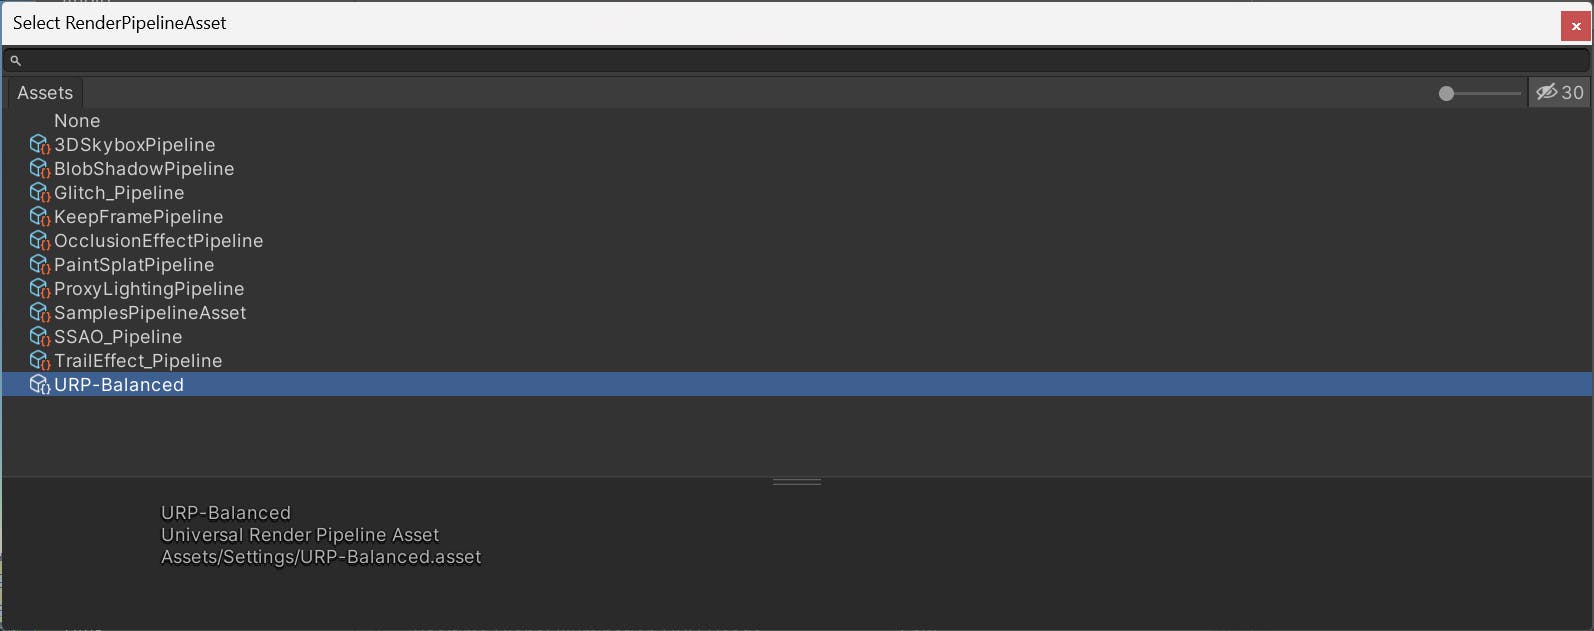
Click the circle beside render pipeline asset input box and select balanced urp from the list.

After doing the above step color of your asset must have changed to pink, don't worry its normal lets do the next step to again get the color of your assets.
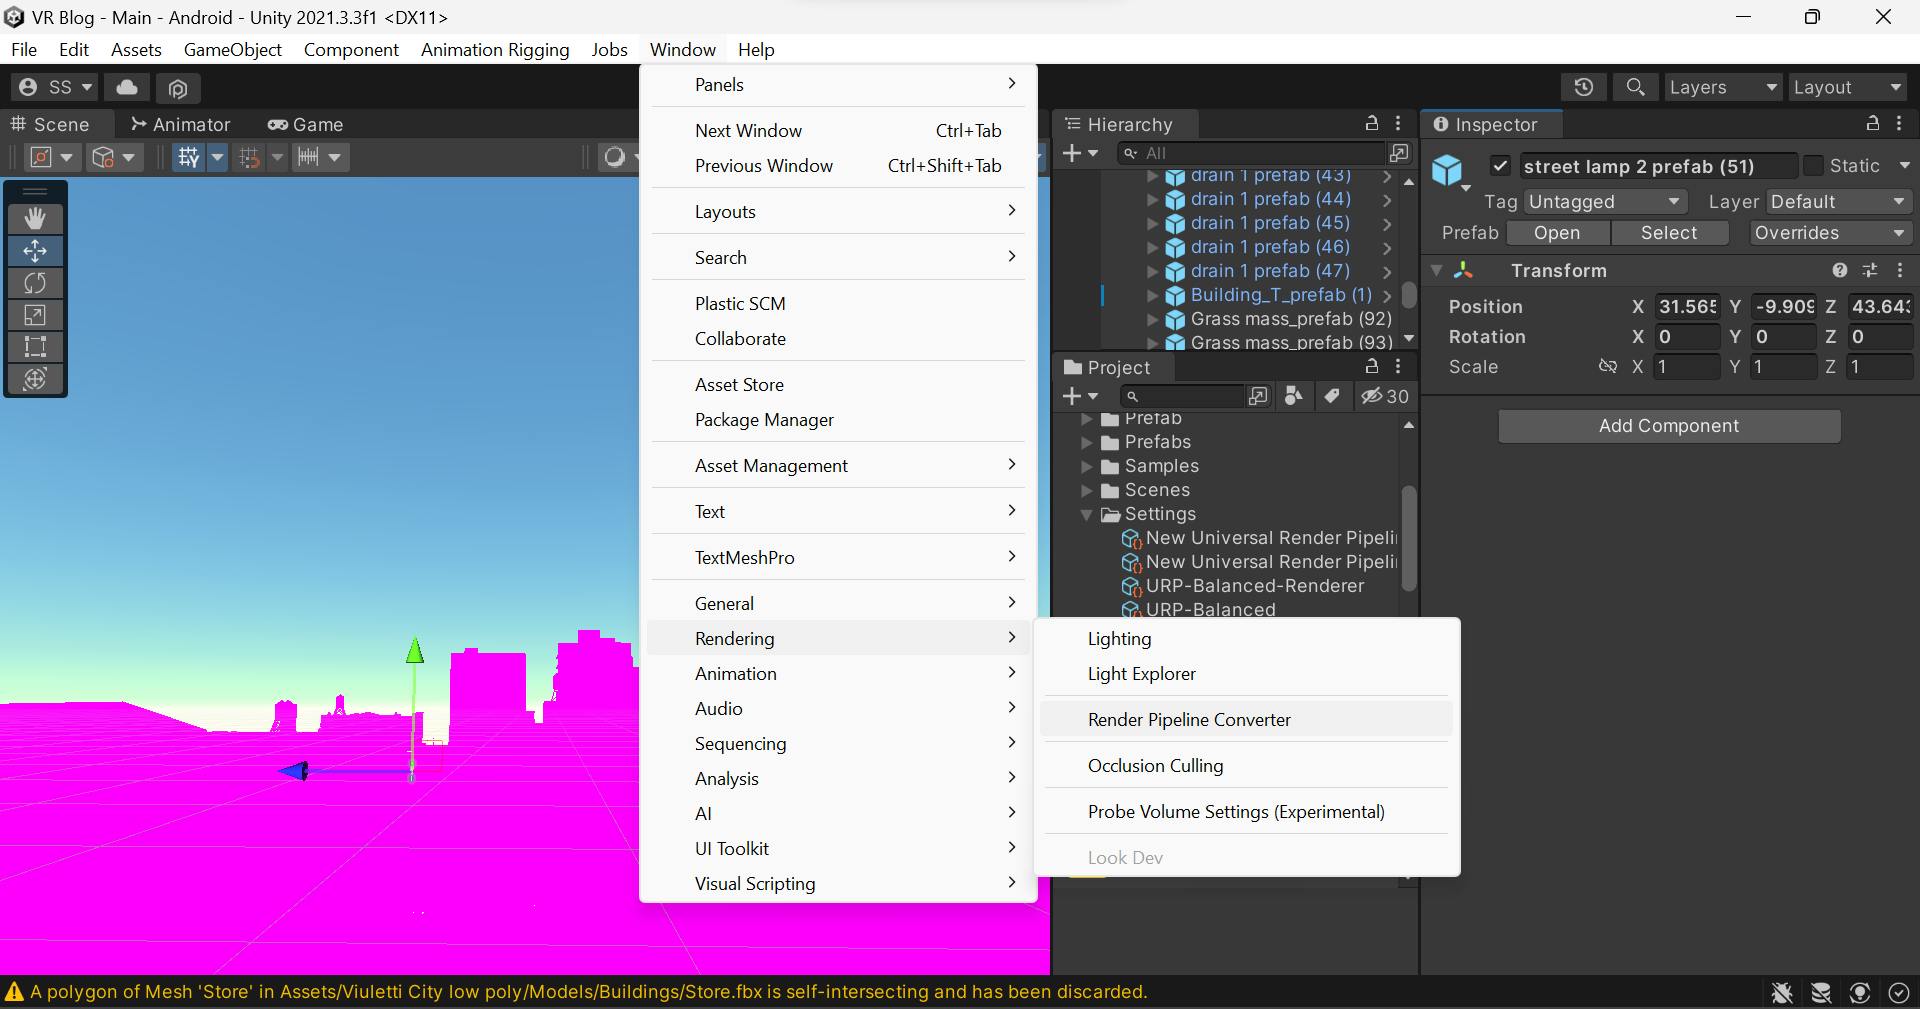
Navigate to Window/Rendering/Render pipeline converter and do as below images suggest.
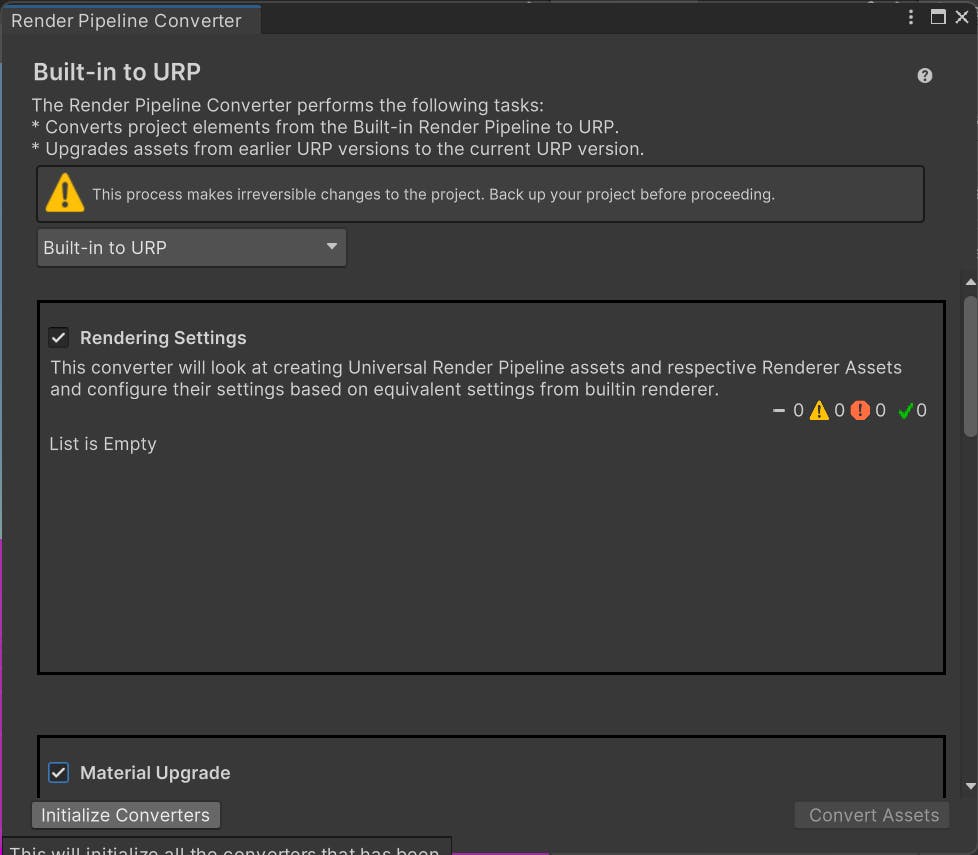
As the converter window opens, change the conversion from built-in to URP from the dropdown.

Enable both the render settings and material upgrade and click on Convert Assets.

Now you could see all your game objects again got their colors as they had. Now your project is fully configured as a URP template. The ahead steps are for all.
Continue
The URP asset that I provided above had done all the configurations for quality so those who hadn't imported the asset can download that from here and import in your project.
Let's configure the Quality settings of your project now. For that navigate to Edit > Project Settings > Quality
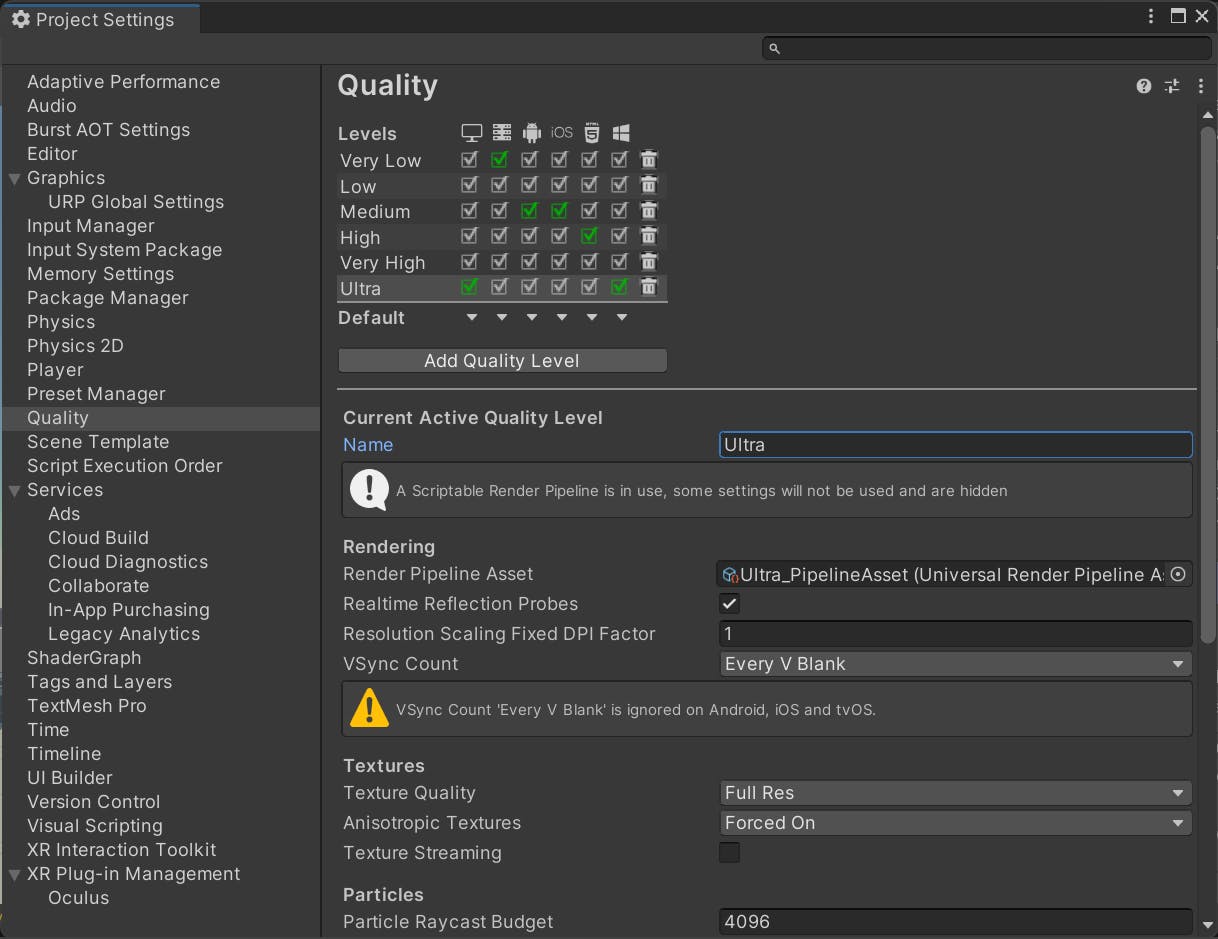
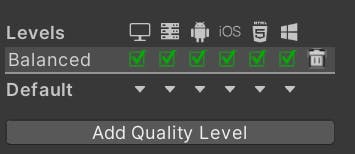
You could see many quality levels in the top, delete all the levels except the current level that is open with the delete symbol besides all the levels.

After deleting all the levels list should look something like this.
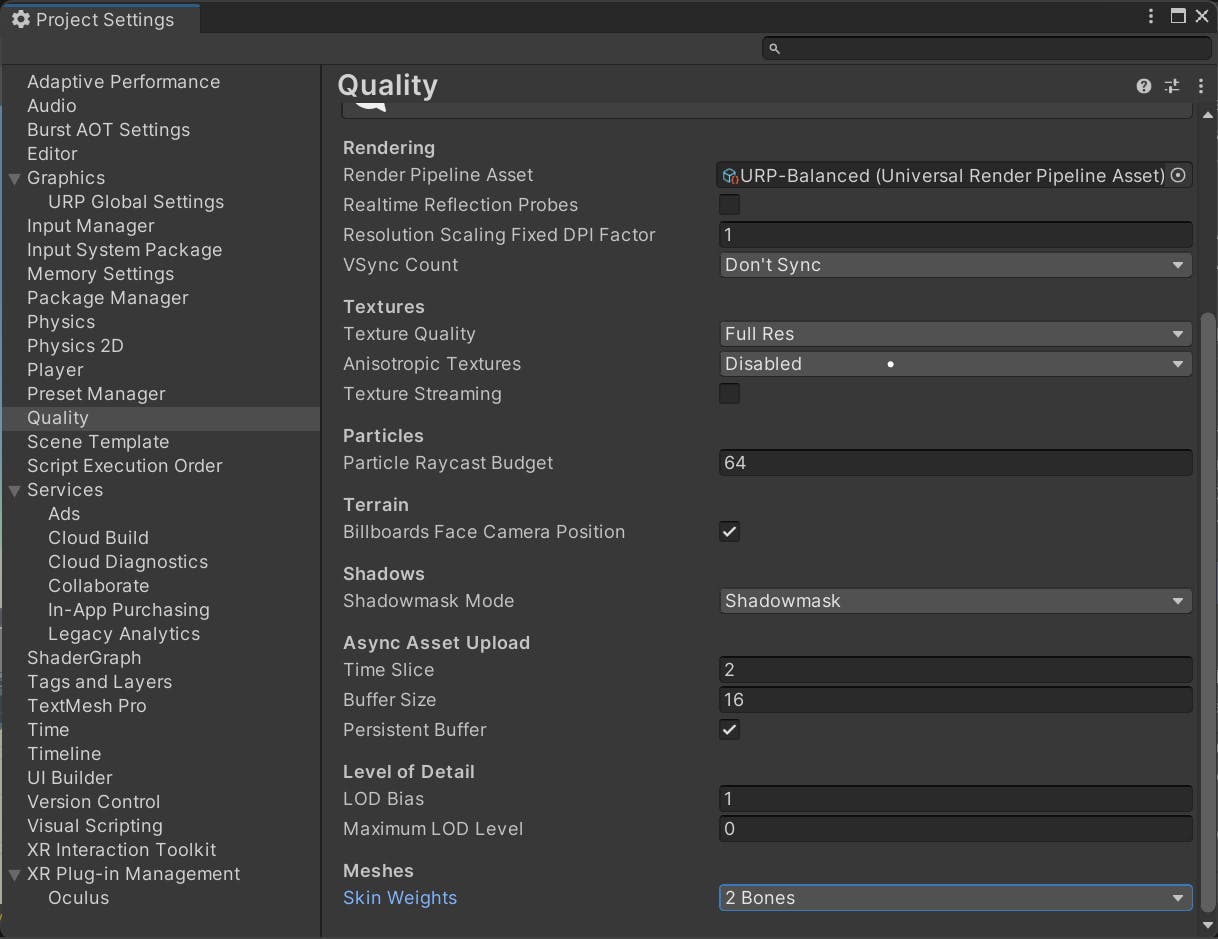
Okay now just configure all the settings as shown in the image below or you can just download all the settings as a preset from here and import in your project.
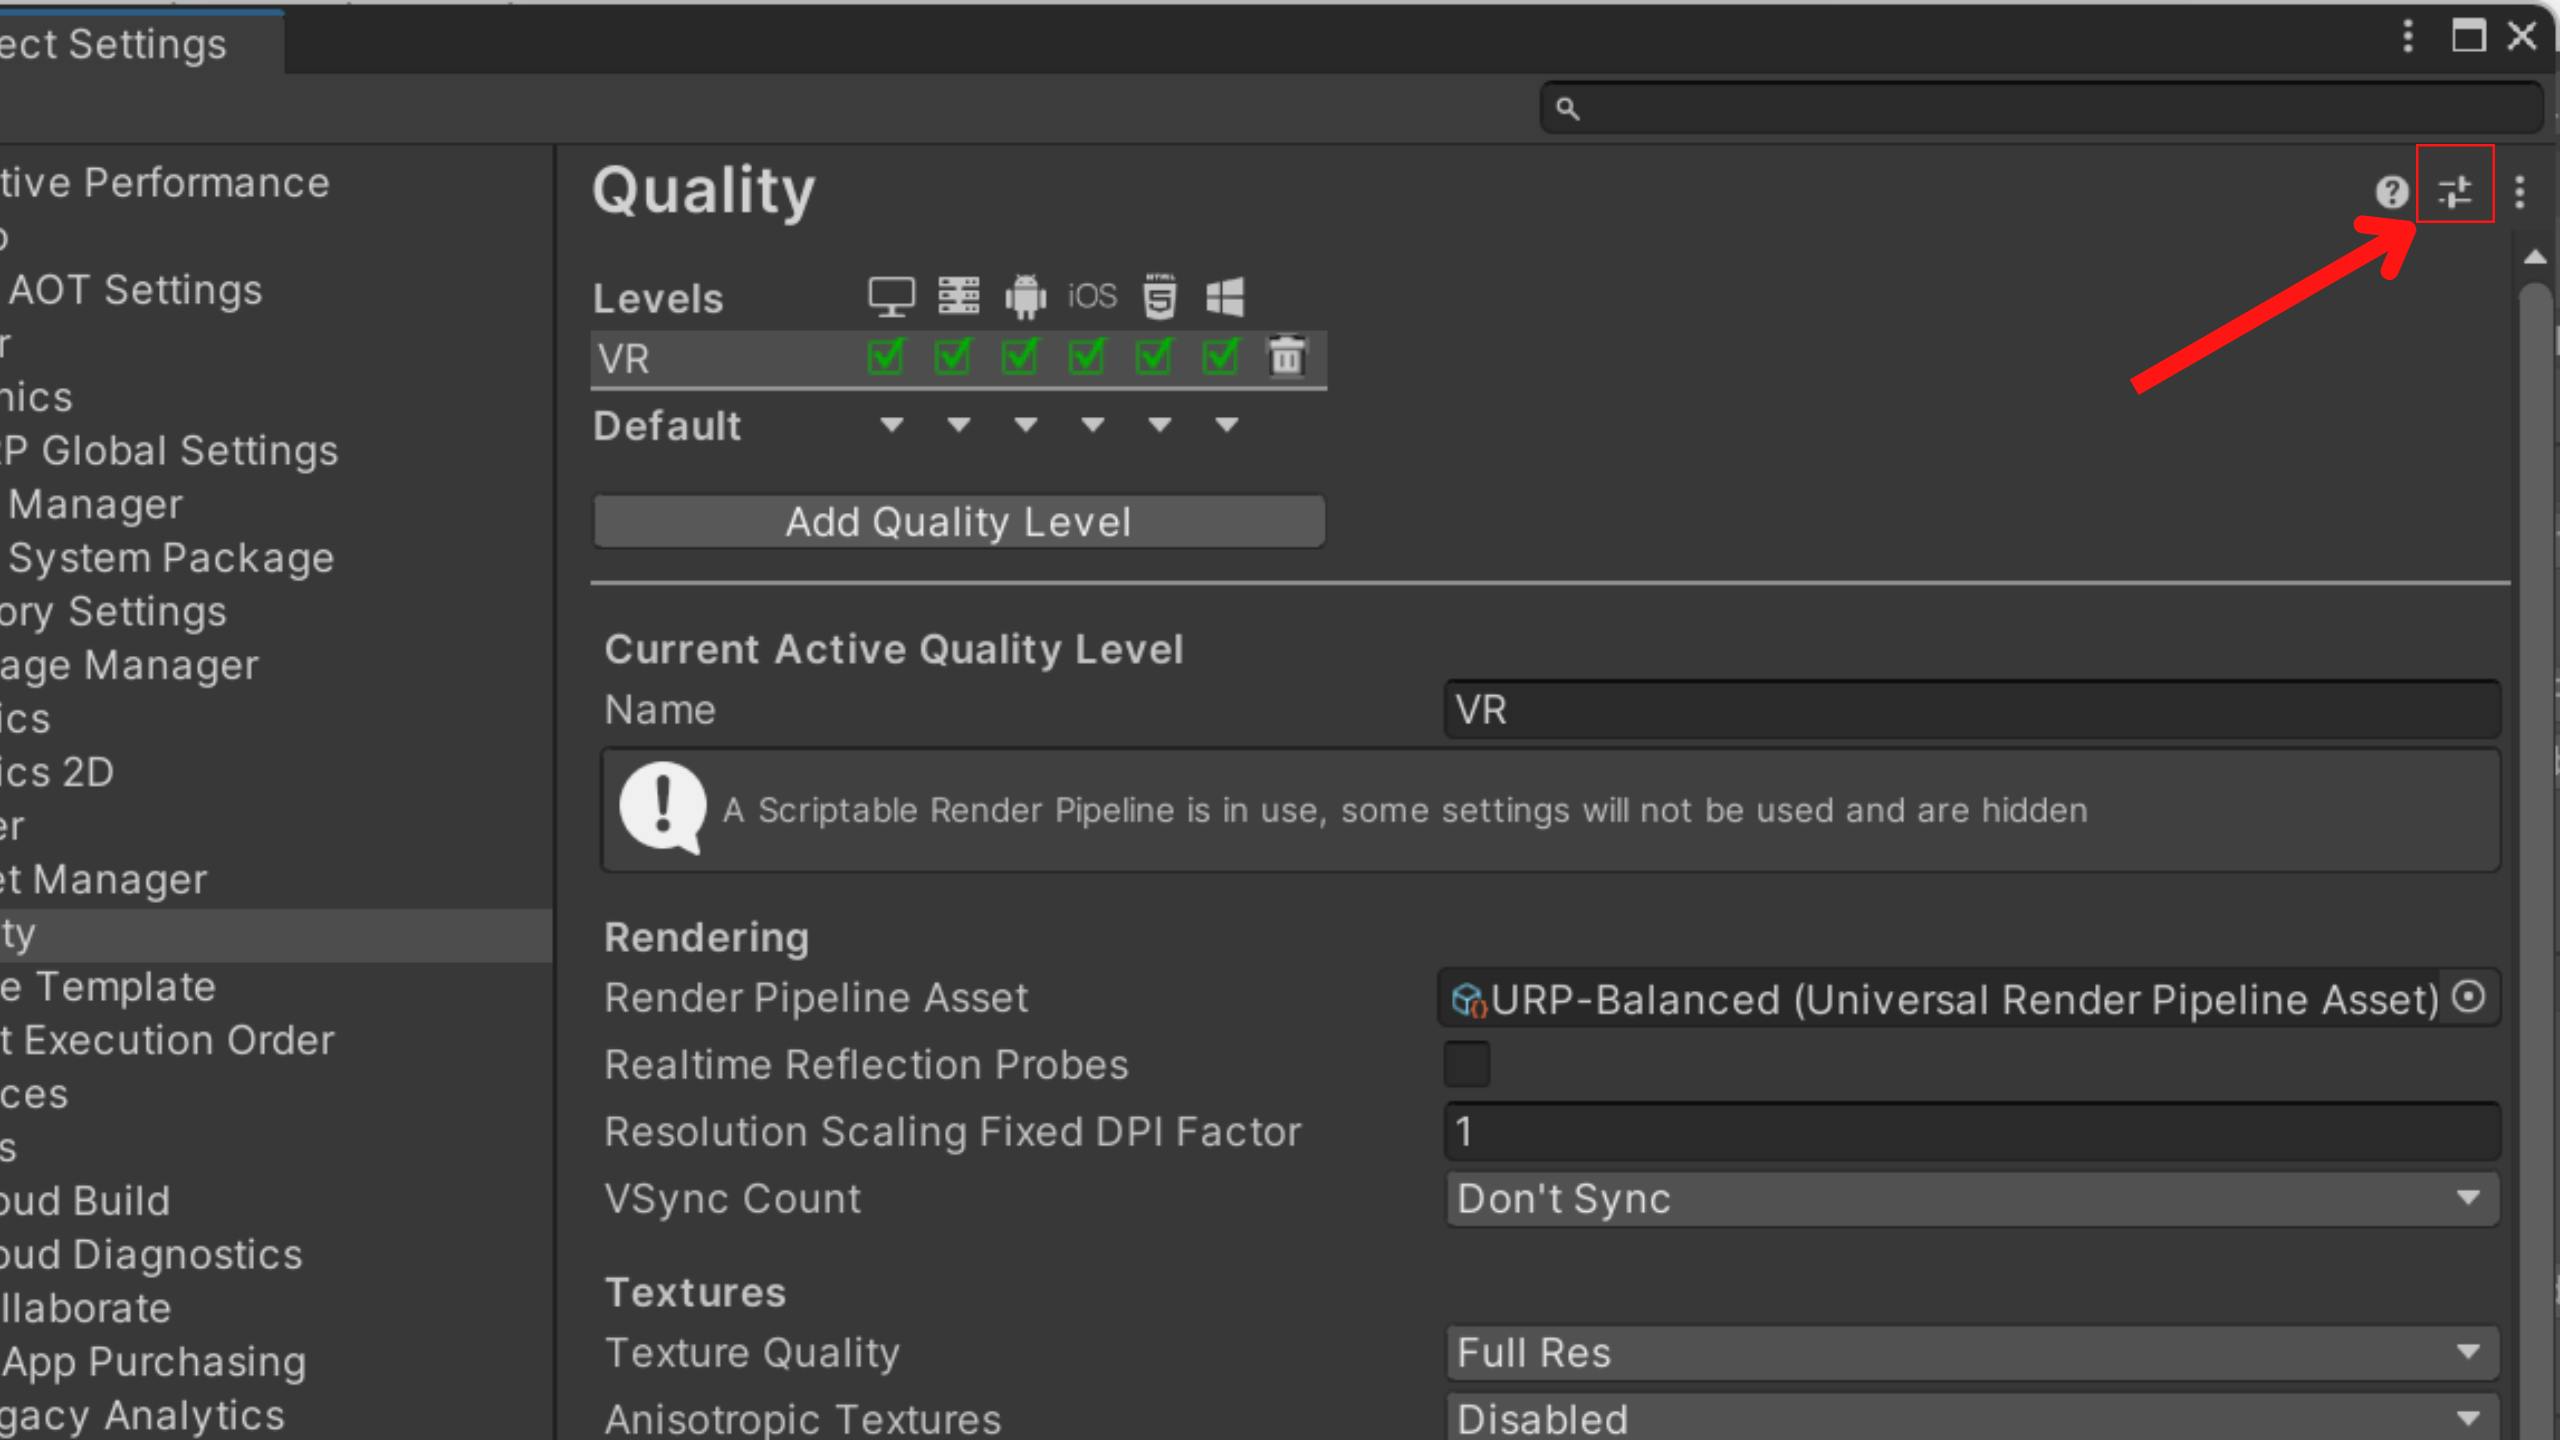
After you import the preset just click this symbol and select the preset imported above.
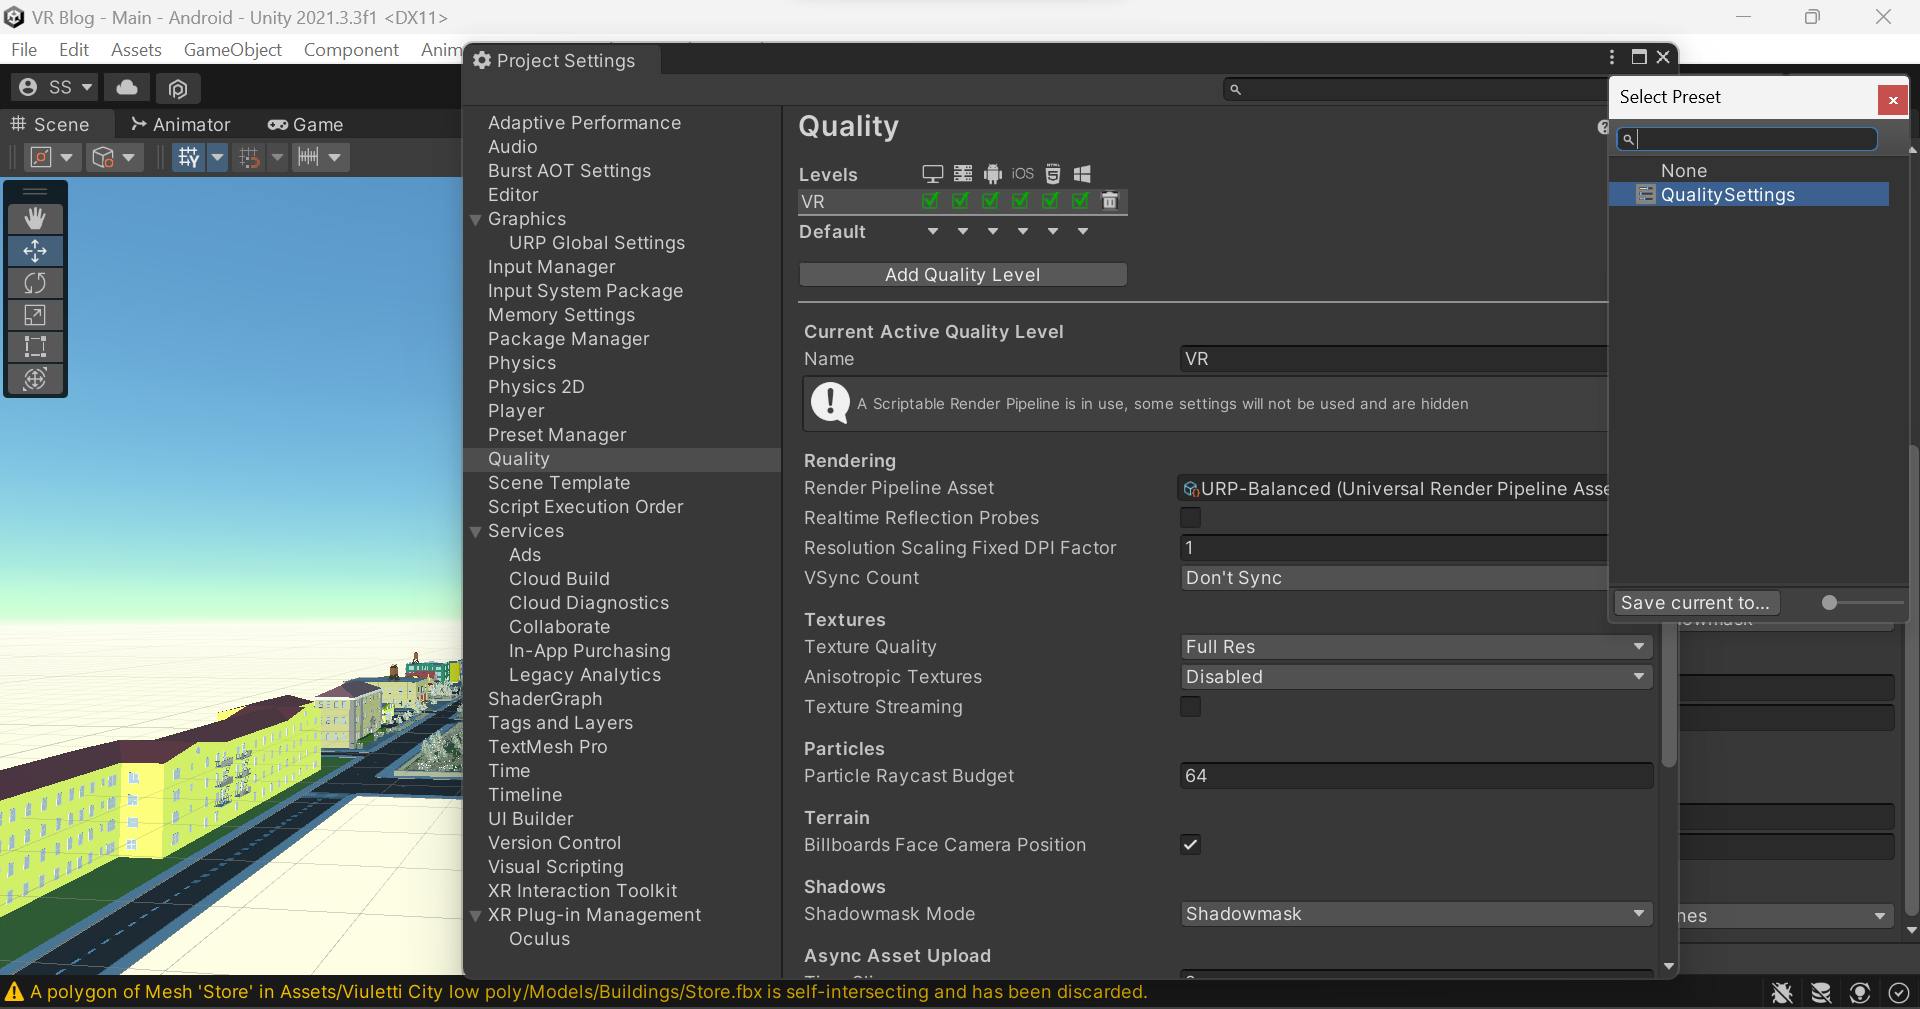
Now all the quality settings are done too.
Skybox
For improving the quality and visuals of your app it is good to change your default skybox to some new. you can change this with the below steps.
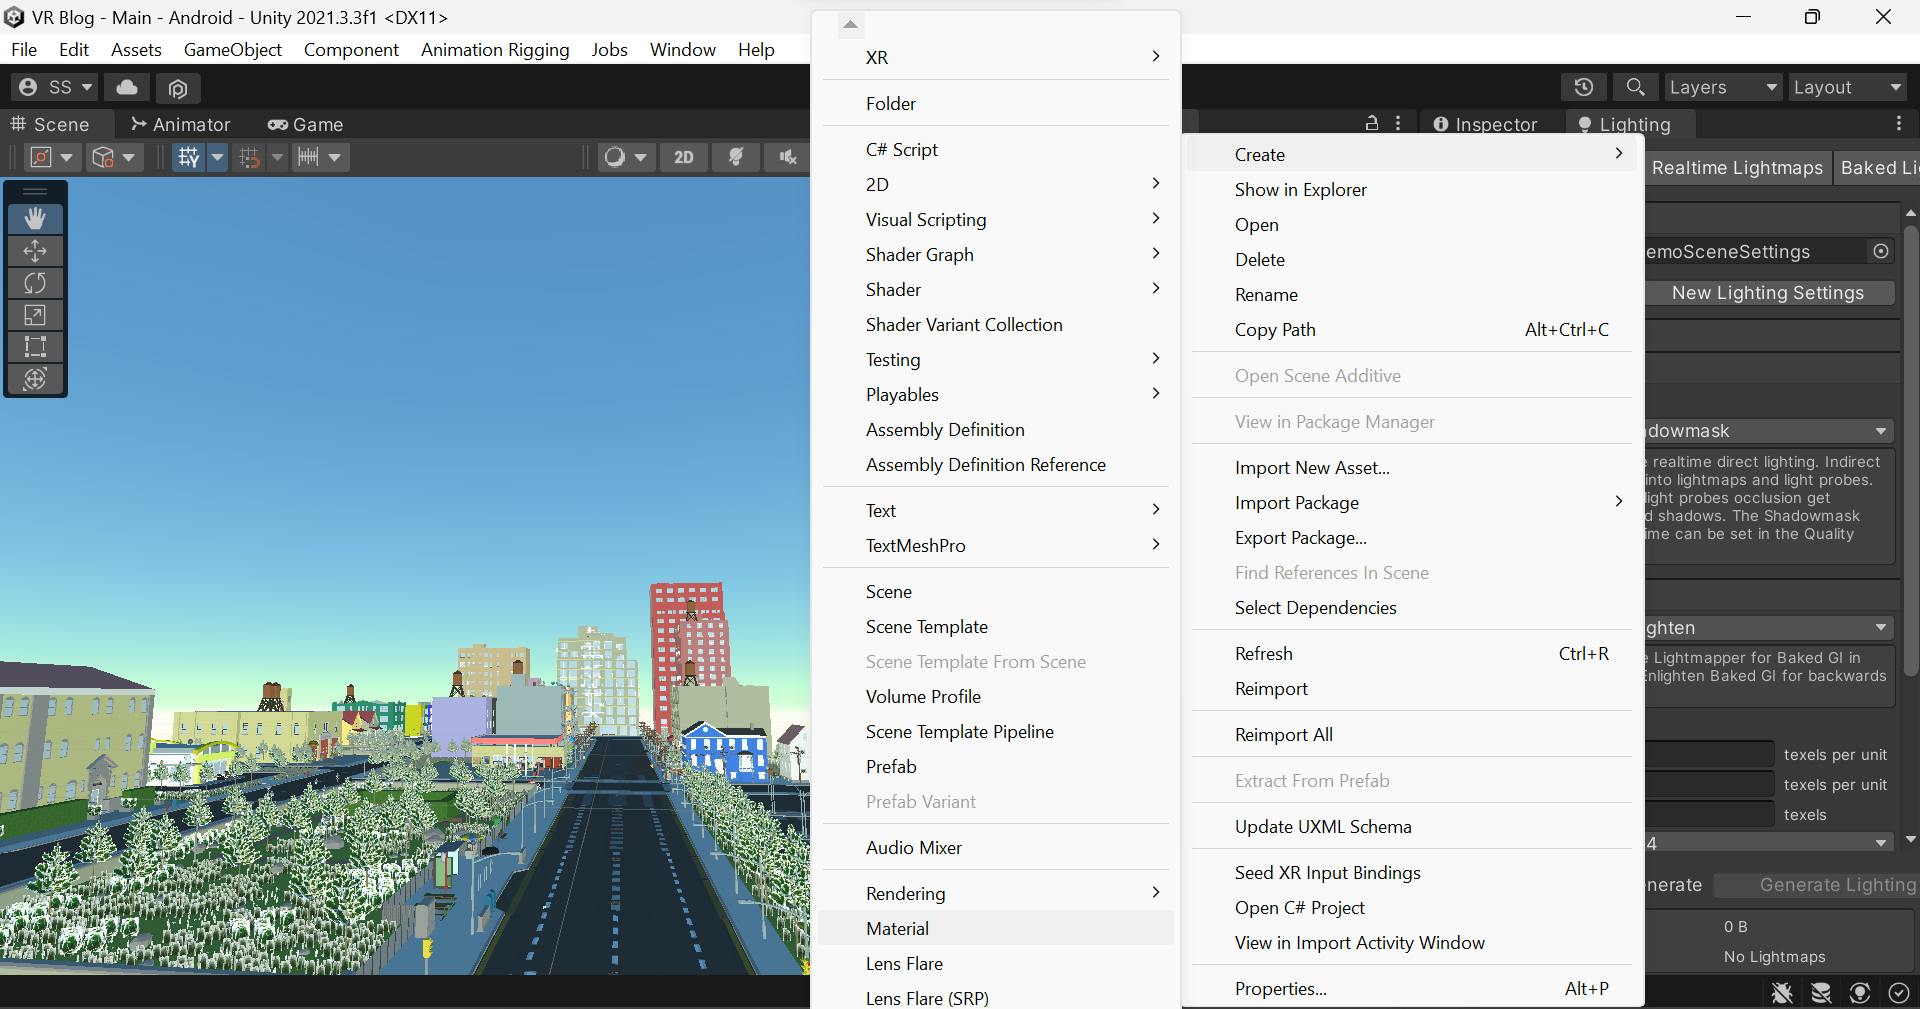
First, create a material by right-clicking in the project tab and clicking create > Material.
Follow the step with the gif below to create the skybox material.
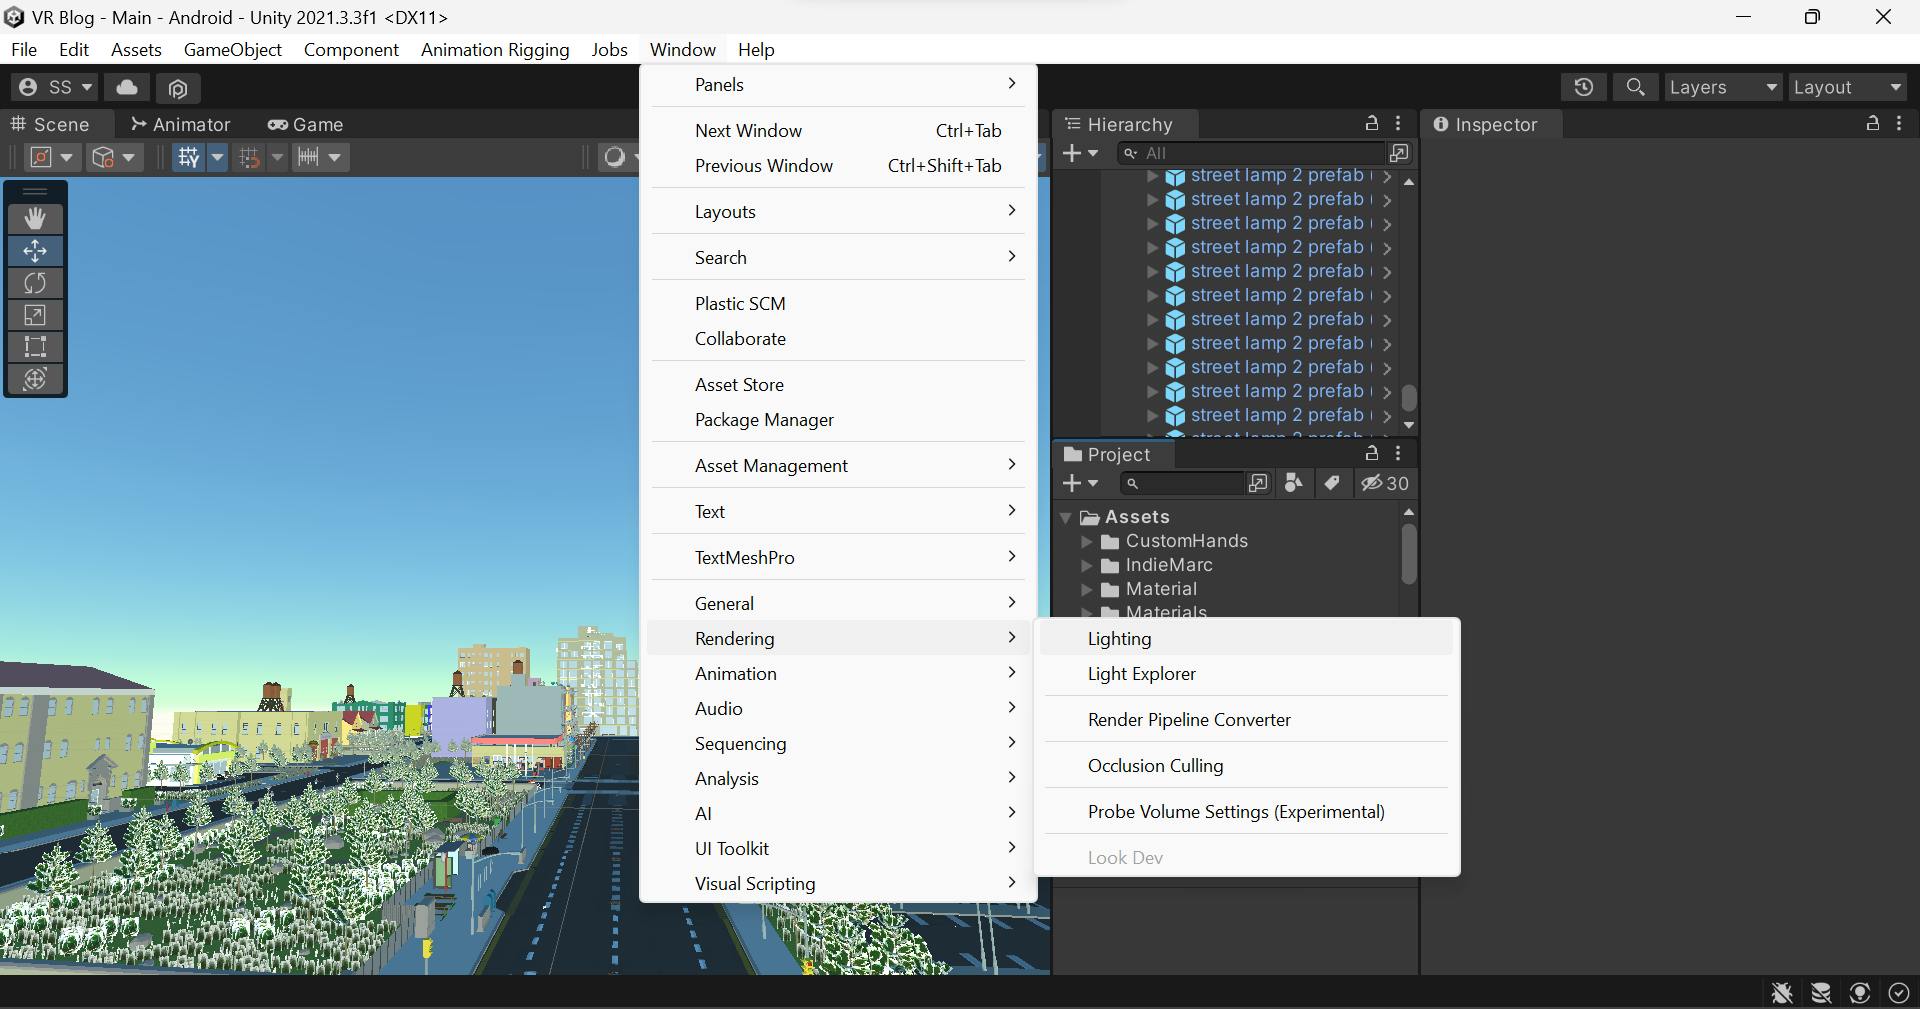
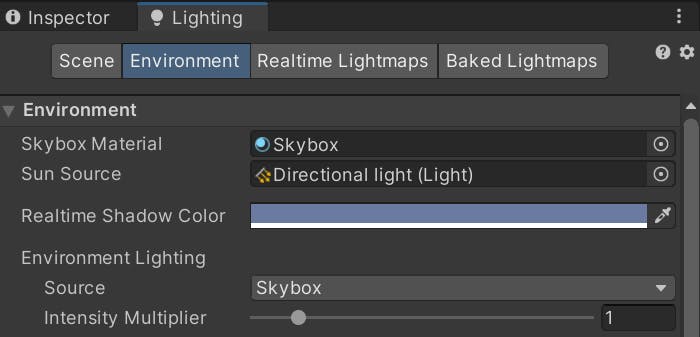
After you completed creating the material open the light settings to change the skybox, and navigate to Window > Rendering > Lighting. A new tab will open as you click the lighting.
There go to the Environment tab and change the skybox to your desired with the small circle sign beside the Skybox material box.
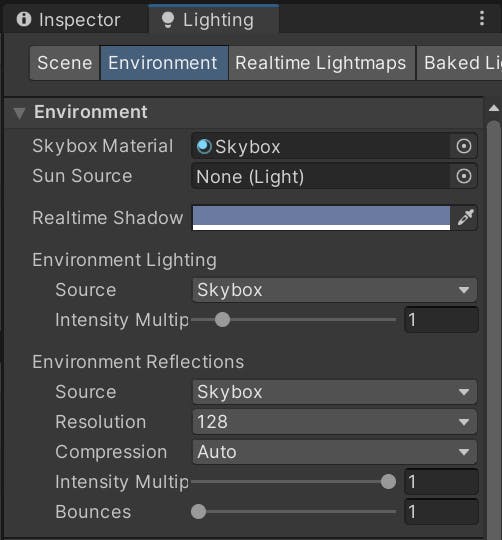
You can change the settings of the skybox but I will keep it default. Now let's get to the next configuration.
Light Baking
With Default, unity calculates lights in real-time but it takes a lot of resources for that which lags the VR app, to improve this you can do a thing that makes the light baked in other words calculate the lights at the development level to avoid real-time calculation. Follow the below steps for that.
Firstly for all the objects that are static and will not change in the game make them static with the static tag at the top left side.
After that open the directional lights and all the lights that you are using and change the mode in the light script to baked if you are only gonna use baked lighting or mixed if you are using both baked and real time lighting.

Just change the shadow Type to Hard Shadow
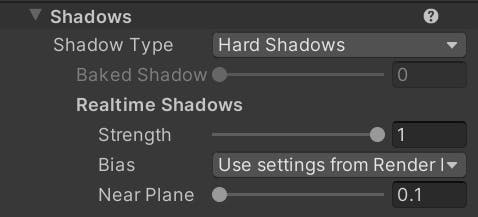
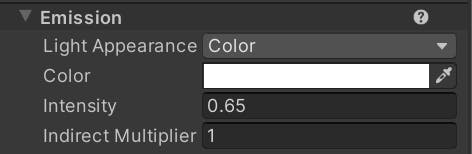
Also to customize the scene you can change some of the configurations like the color of the light, intensity, etc.
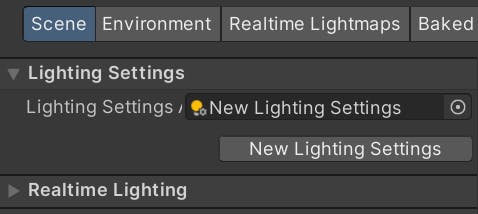
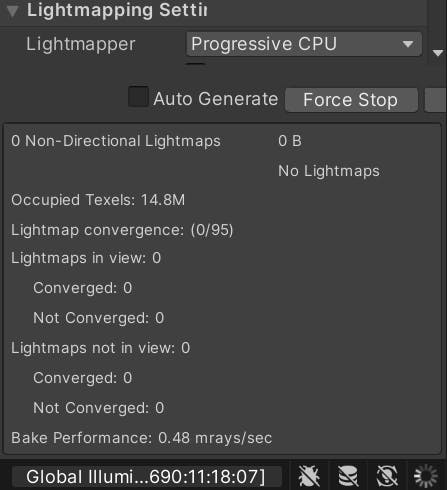
After you are done with this let's bake our light. Now open the lighting editor again from Window > Rendering > Lighting

Click on new lighting settings to create a new lighting setting for your customize lighting settings. It will create a .lighting file in your project tab
Now just click on Generate lighting and it will start the process of generating the lightmaps textures but this will take some time so you can go and grab a coffee in this time and just chill.

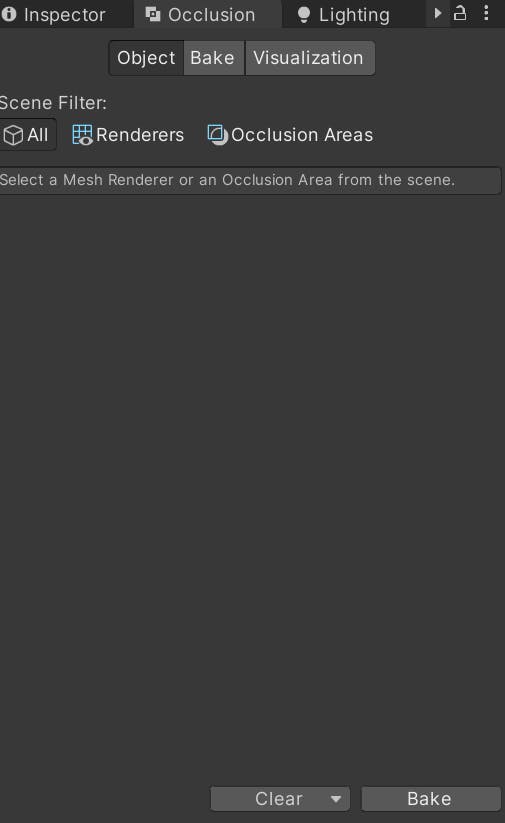
Occlusion