

Passthrough provides a real-time and perceptually comfortable 3D visualization of the physical world in the Meta Quest headsets. The Passthrough API allows developers to integrate the passthrough visualization with their virtual experiences. In this blog, I will set you up with the passthrough and at the end of this blog, you would be able to successfully set up a sample scene and test it yourself. So let's get started!
Prerequisite
Configurations
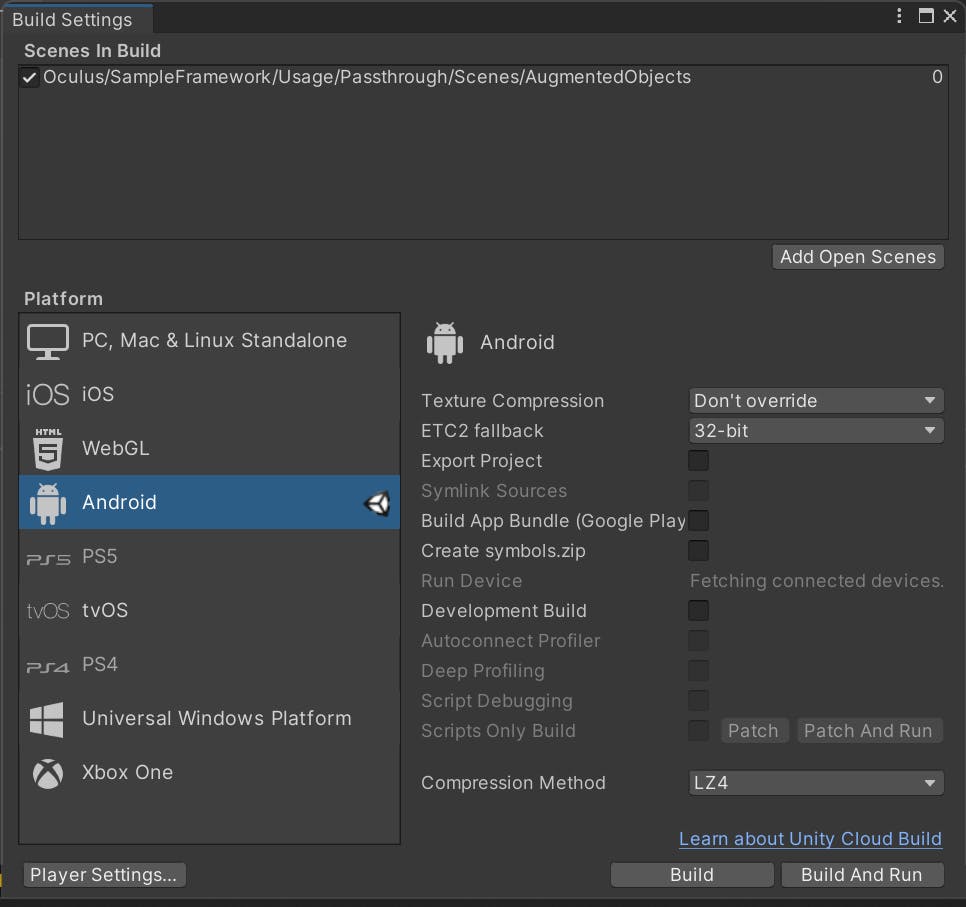
I. First change the platform to Android from the build settings.
II. Open Player below the left corner and do these configurations in the player.
i. First change the name to your desired name.
 ii. In the other settings, check for Color Space it should be Linear so if Gamma change it to linear.
 iii. Disable Auto Graphic API and make sure Vulkan is not in the list.
 iv. Make sure the Minimum API level is 23
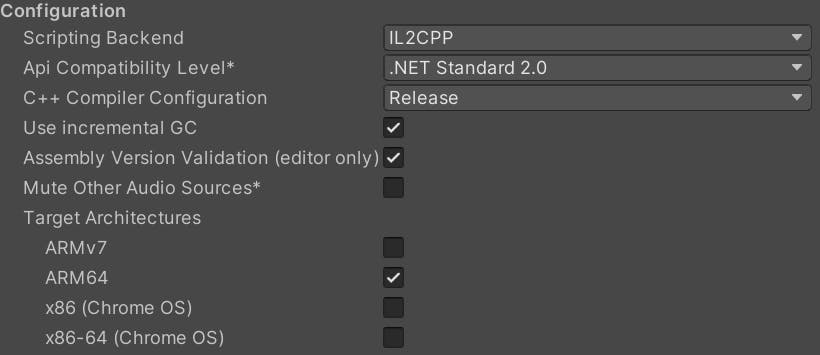
 v. Change scripting backend to IL2CPP and Target Architecture is "ARM64"
III. Install the XR interaction toolkit either from the package manager or from project settings in the XR interaction tab.
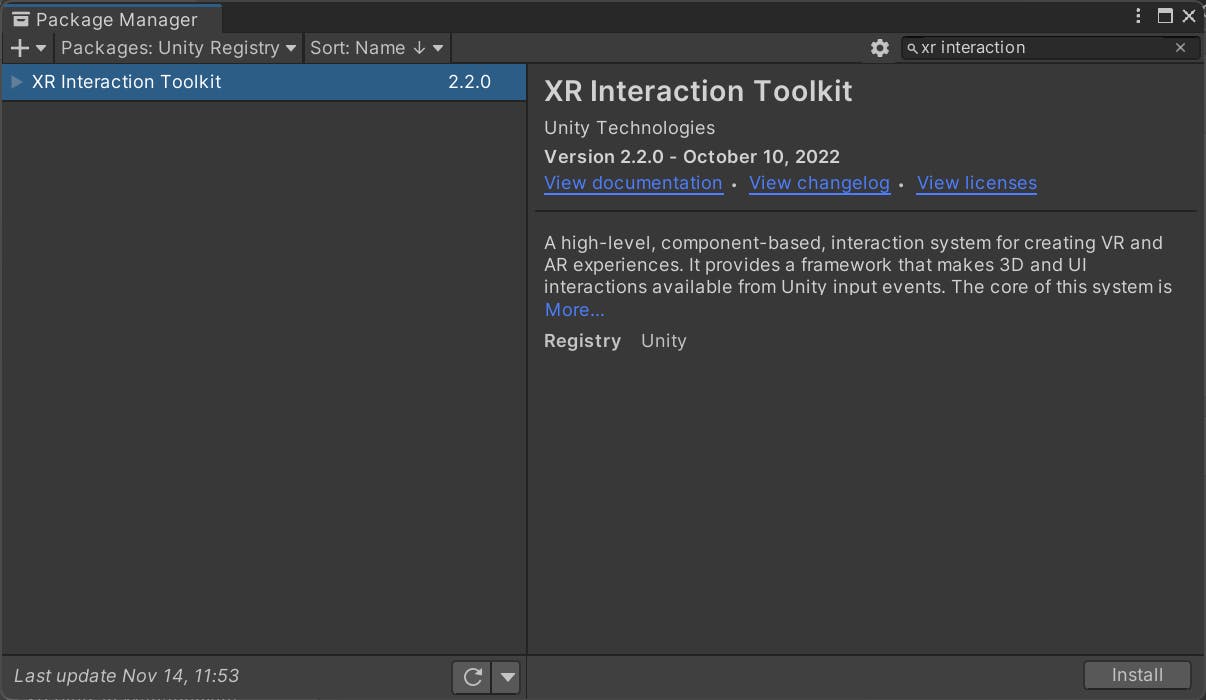 Mine has been installed already that's why showing me remove but if you have not installed you will be shown the install button.
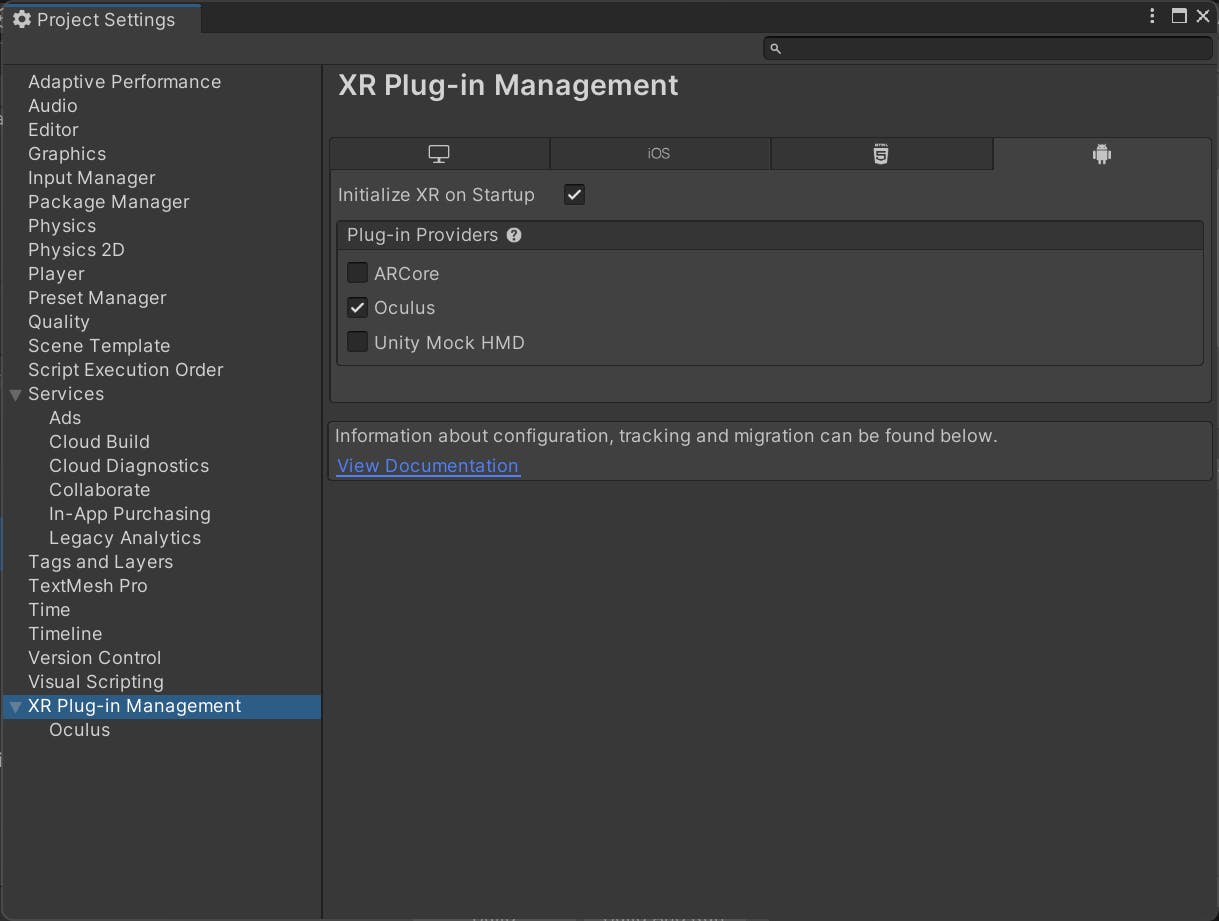 Here also if you hadn't installed this package then you will be shown the Install button. Just install from any place and then choose Oculus as I had chosen in the above image.
IV. Install Oculus Integration Toolkit from your Assets if you hadn't installed it yet.
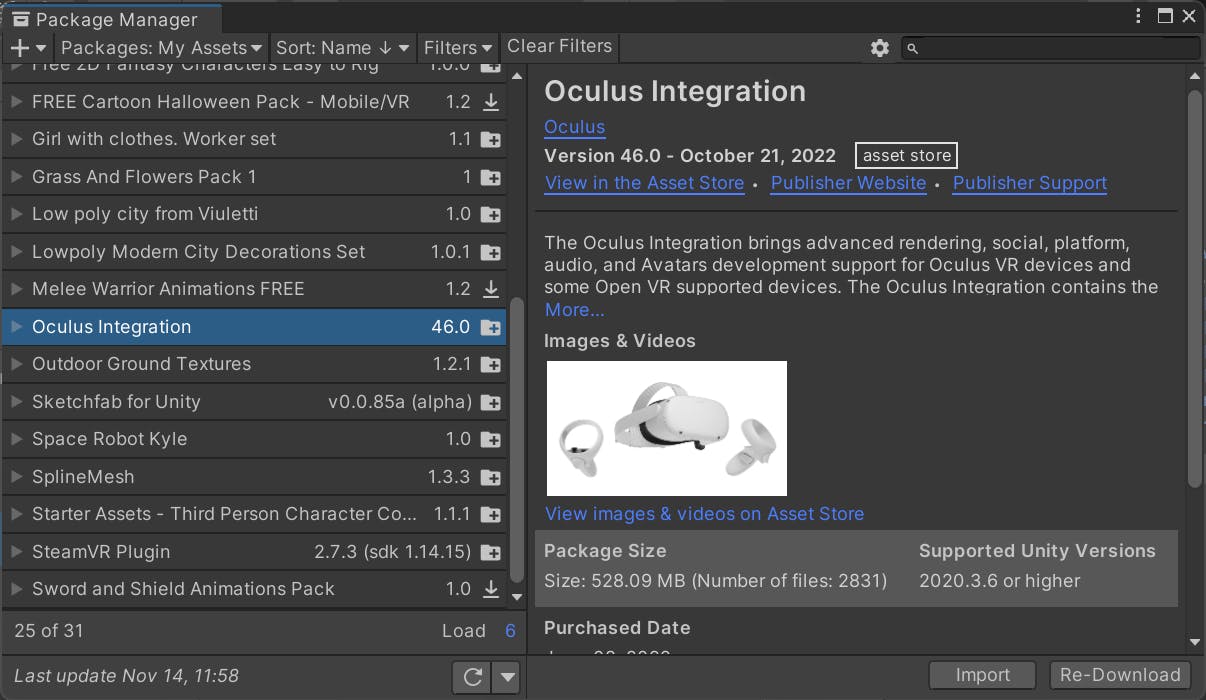
And import all the packages.
Setting up the Scene
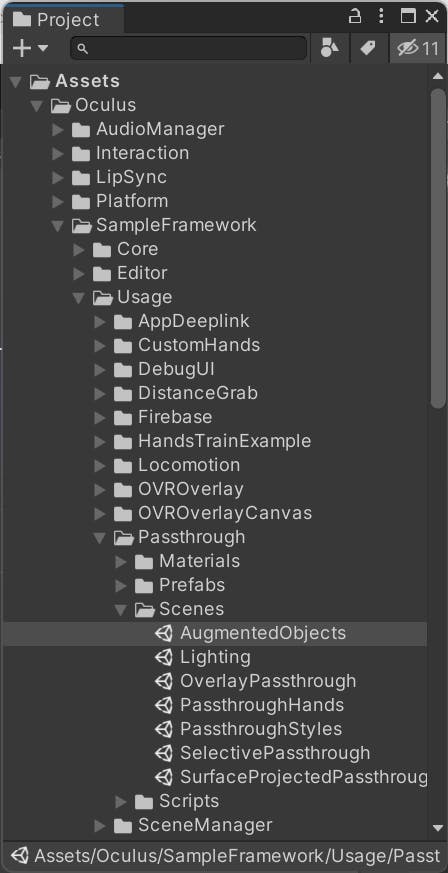
Now the Oculus Integration comes with some samples so let's first setup the passthrough sample provided by Oculus. Go to Assets/Oculus/SampleFramework/Usage/Passthrough/Scenes and open AugmentedObjects Scene.
Change the OVRPlugin to OpenXR
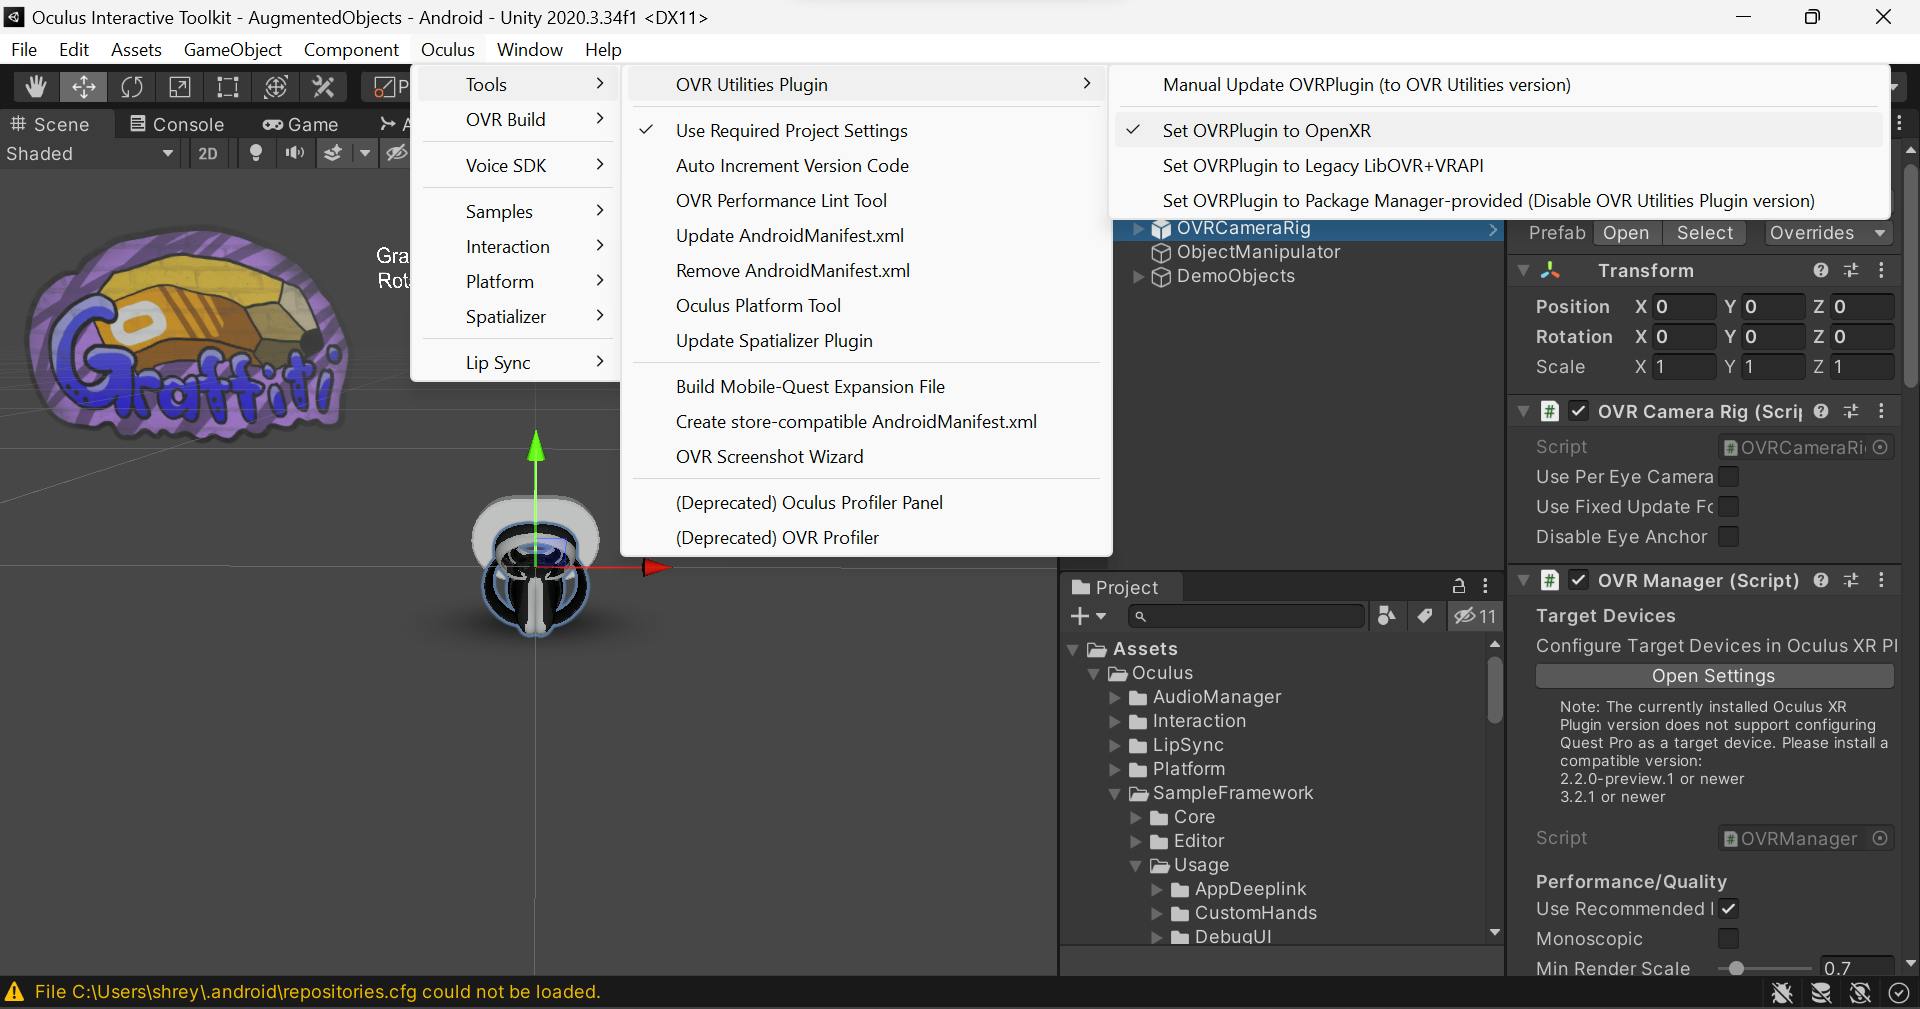
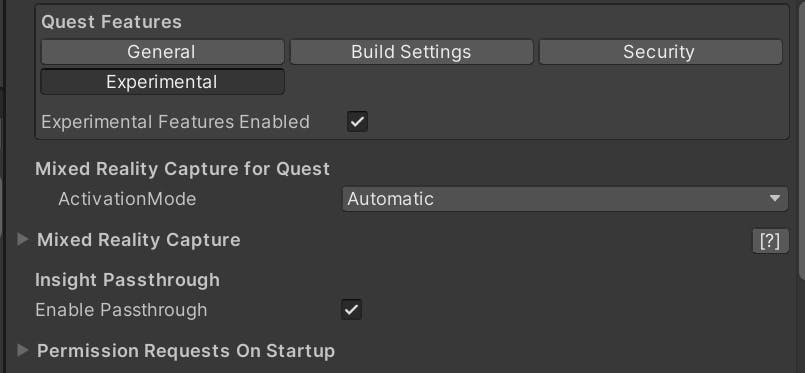
Open OVRCameraRig and scroll down to OVRManager and scroll down to the end of the component till you see Quest Features select Experimental then enable "Experimental Feature Enabled" and "Enable Passthrough" as in the image below.
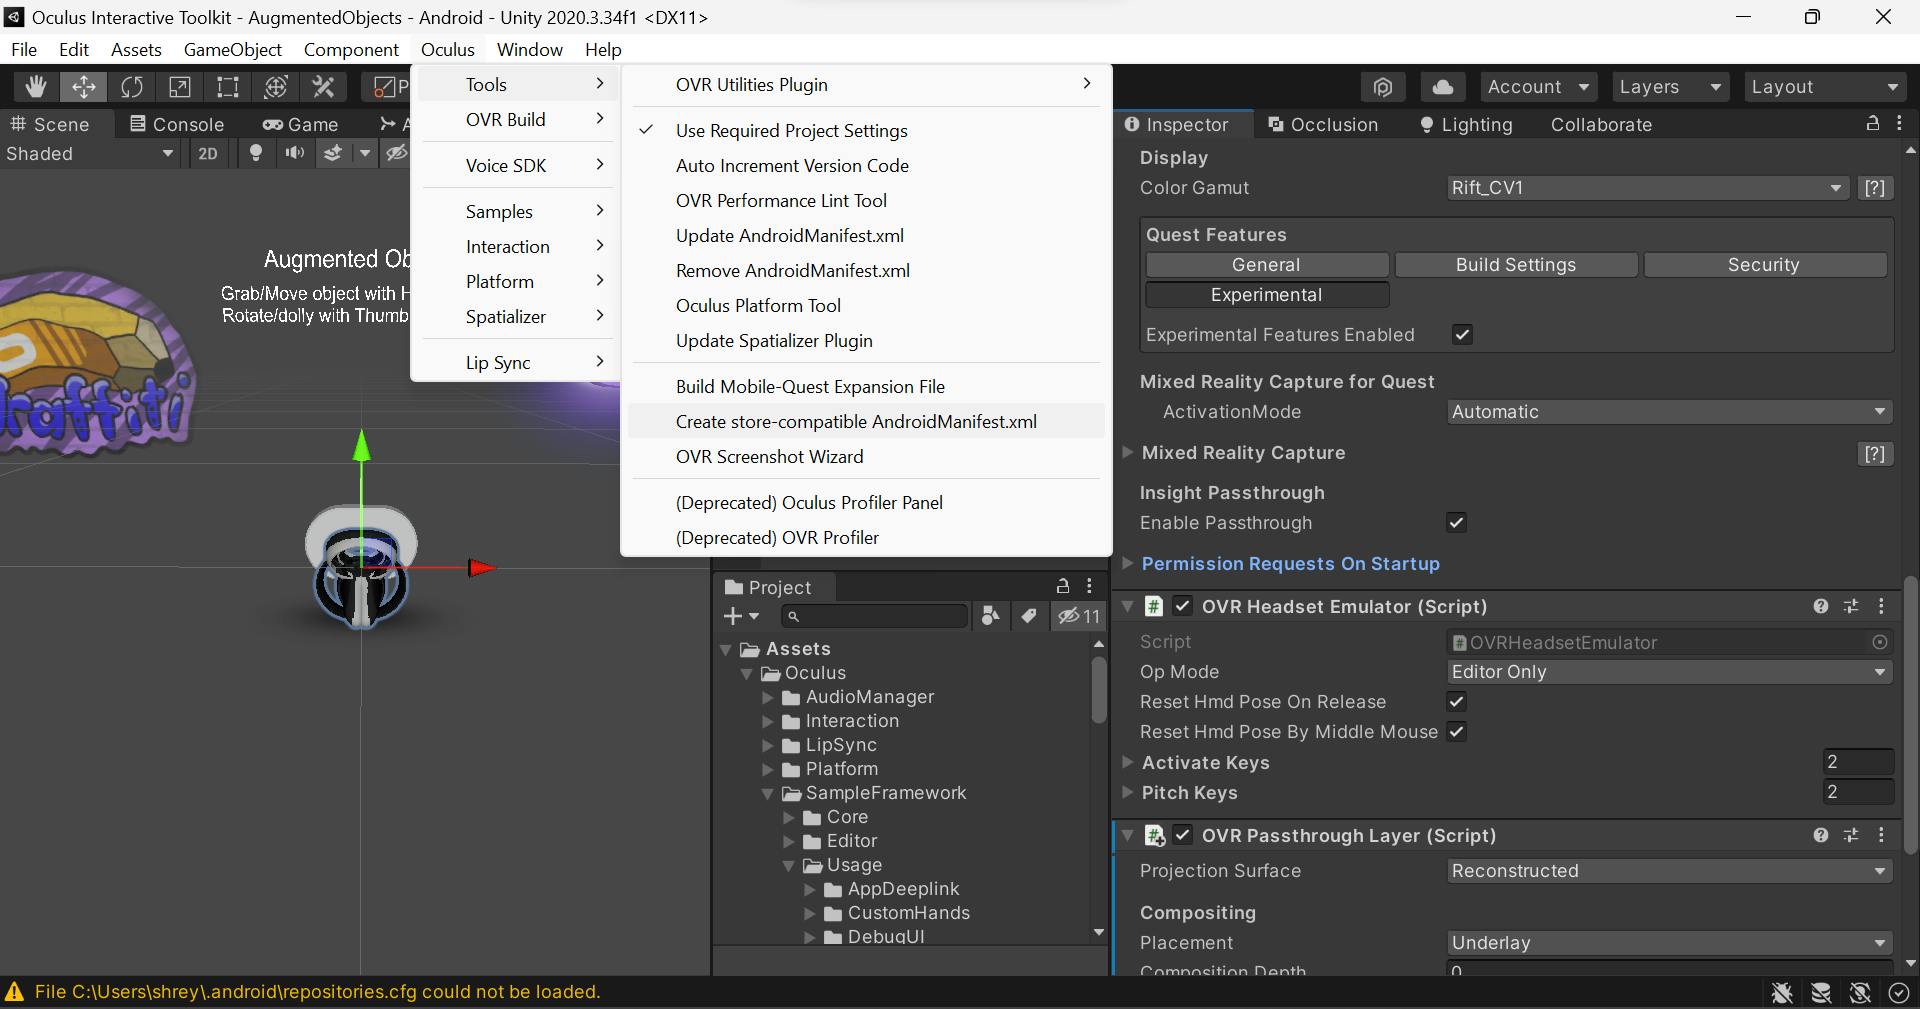
After that go to Oculus>Tools>Create store-compatible AndroidManifest.xml.
Command Prompt
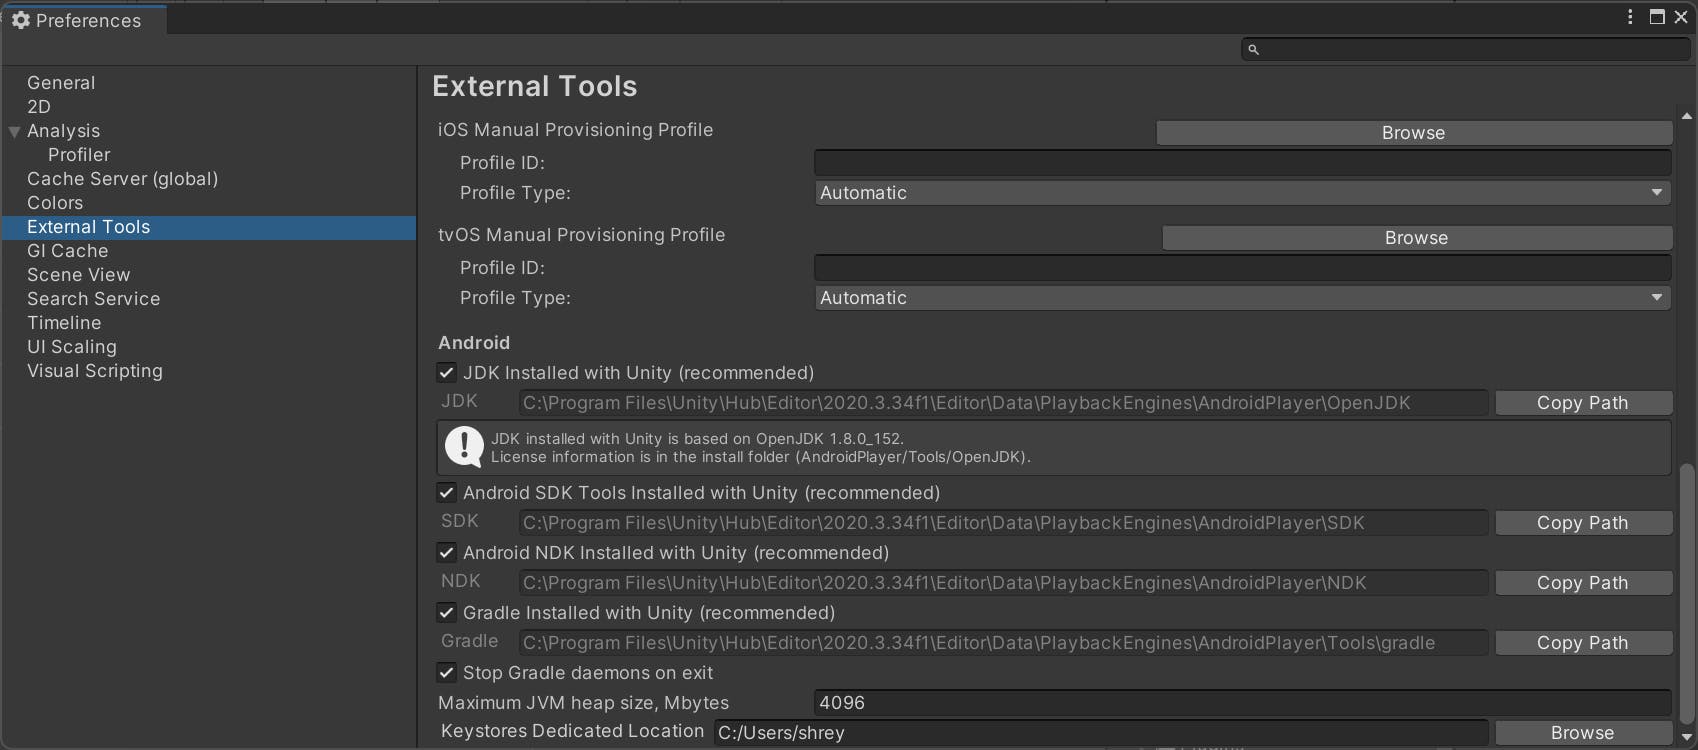
Now run some commands on the command prompt But before that go to Edit > Preferences > External Tools and copy the path of the Android SDK


Now Copy and paste a one-one line from the below codes and paste in the command prompt.
NOTE: Note here that below pasting the below lines connect your quest or quest 2 to your laptop/ computer using USB.
cd "<paste your AndroidSDK path>"
cd .\platform-tools
.\adb.exe
.\adb.exe devices
.\adb shell setprop debug.oculus.experimentalEnabled 1
Building and Running
Now we are done with all the things just go to File > Build Settings and add the current scene if not added yet.

Just Build and run the app in your Quest or Quest 2.
You can see the video made with Quest 2 here.