


Table of contents
You must have used different IDEs (Integrated Development Environments) for development and code writing i.e. Visual Studio, Visual Studio Code, IntelliJ, etc. What makes them different from the normal Notepad and other text editors? Let's first see the definition of an IDE- "An Integrated Development Environment(IDE) is a software suite that consolidated basic tools required to write and test software."
Developers usually use numerous tools throughout the software code creation, building, and testing. An IDE is software that includes all these tools like text editors, code libraries, compilers, and test platforms. Without an IDE, a developer must select, deploy, integrate and manage all of these tools separately. But an IDE makes development easier for the developer and only lets him/her think and write the logic for the software and other work is done by the IDE itself.
One of the important features of an IDE is auto-suggestion, which means while writing codes a developer is recommended functions and variables which let them not remember all the functions of a particular class and also sometimes get to know about new functions that could be of help to them. While writing code for Unity we usually write code in Visual Studio, or any other IDE, so to attach the IDE with Unity we need to configure some steps which I have shown below:
VISUAL STUDIO
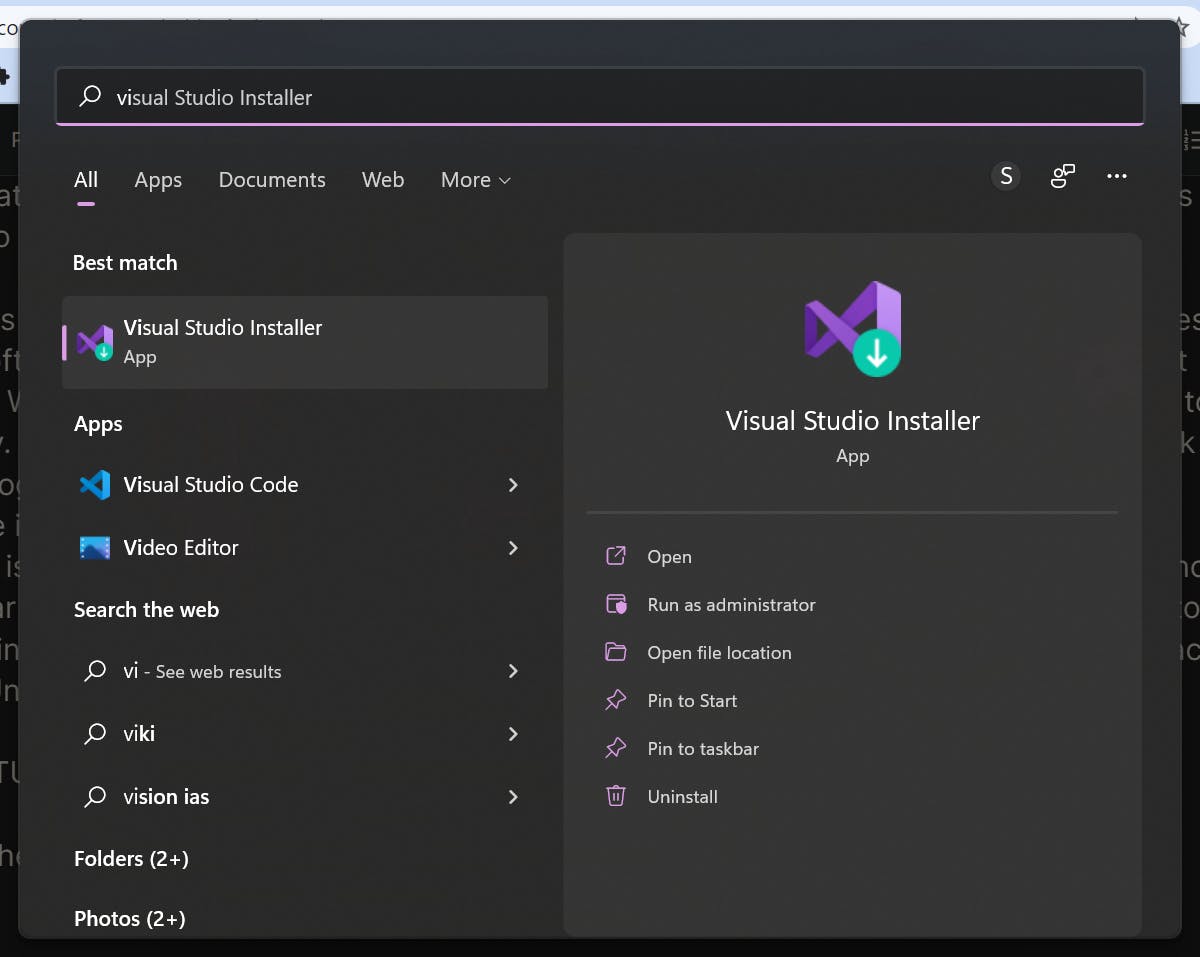
Step 1: Open the Visual Studio Installer to modify the features of the desired version.
There are two steps for this:-
a. Either open Visual Studio Installer from the Start menu.
OR
b. Open Any script from the unity and go to Tools>Get Tools and Features
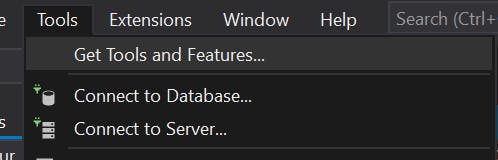
From both the steps Visual Studio Installer will be opened for you.
Step 2: Now select your desired Visual studio version and click on Modify to modify the features. Scroll down until you get to "Game Development with Unity" and make sure to select it.
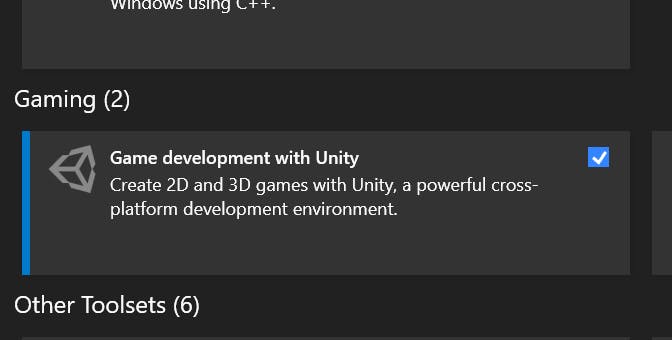
Then click on "Install while Downloading" and close Visual Studio. Now let's configure Unity for Visual Studio.
Step 3: Open any Unity project from the Unity Hub.
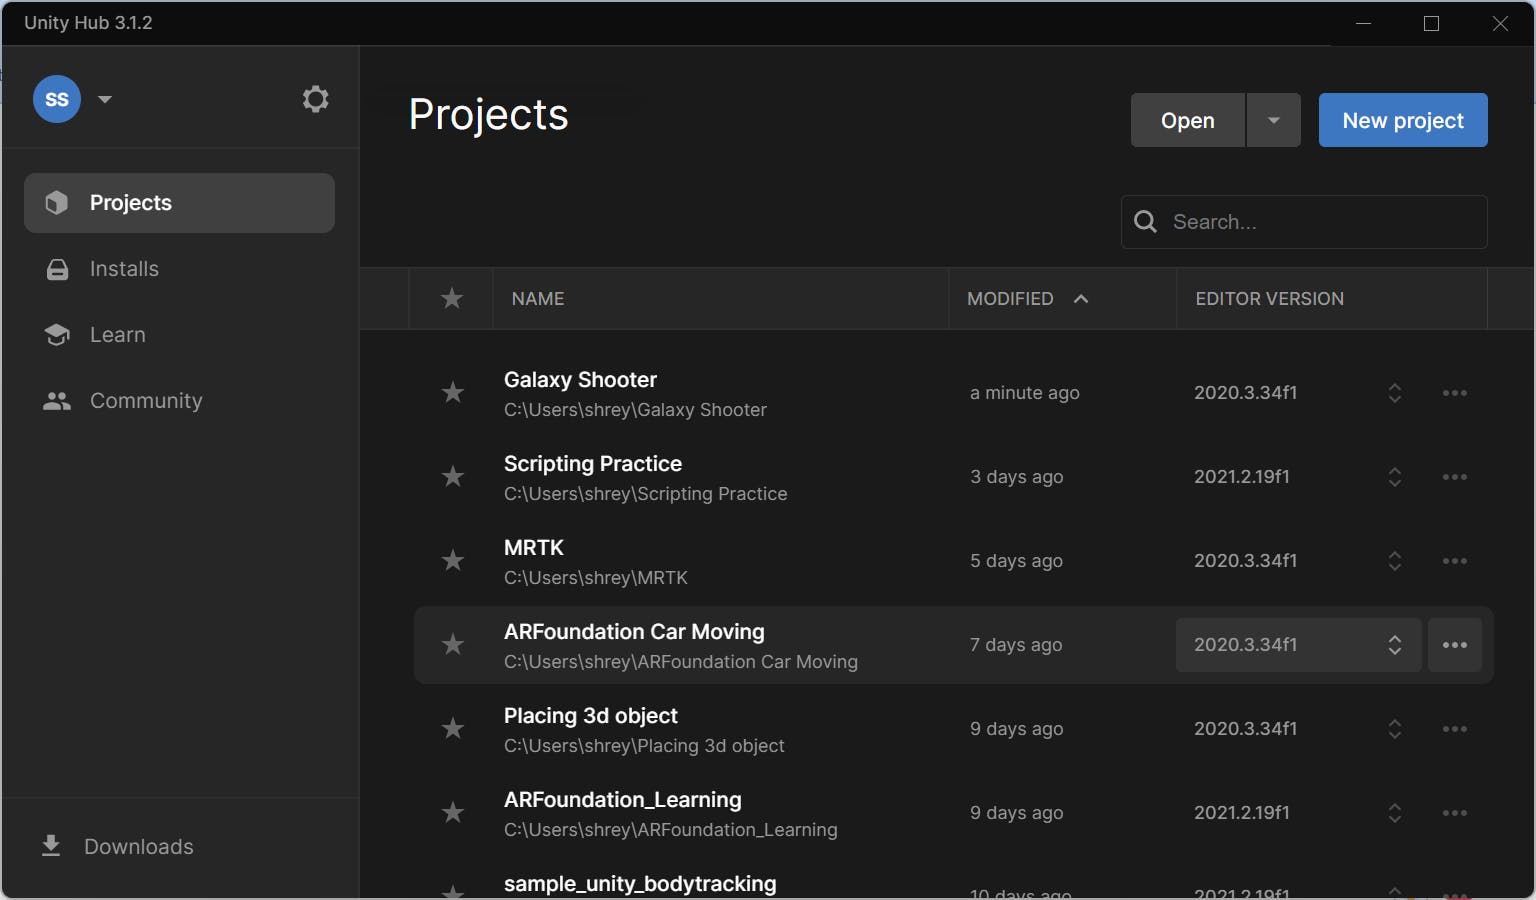
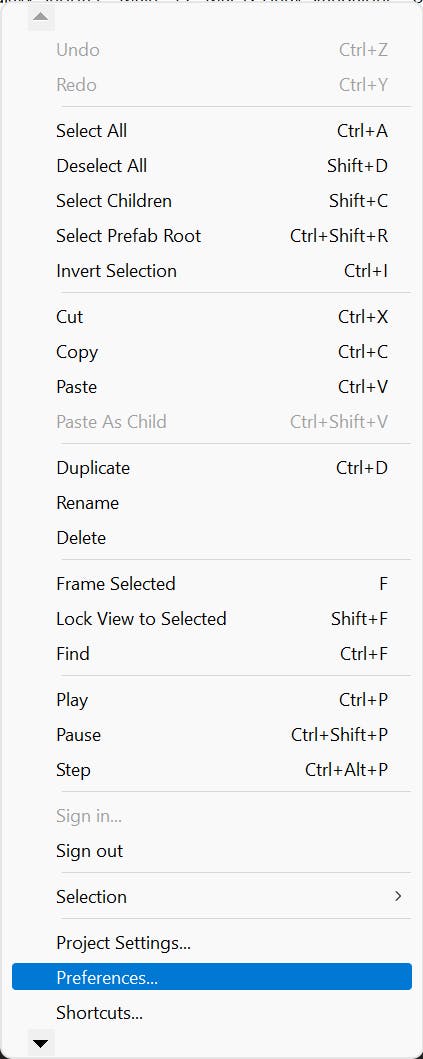
And Go to Edit > Preferences.
Step 4: On the popped up Preferences window, click on External Tools.
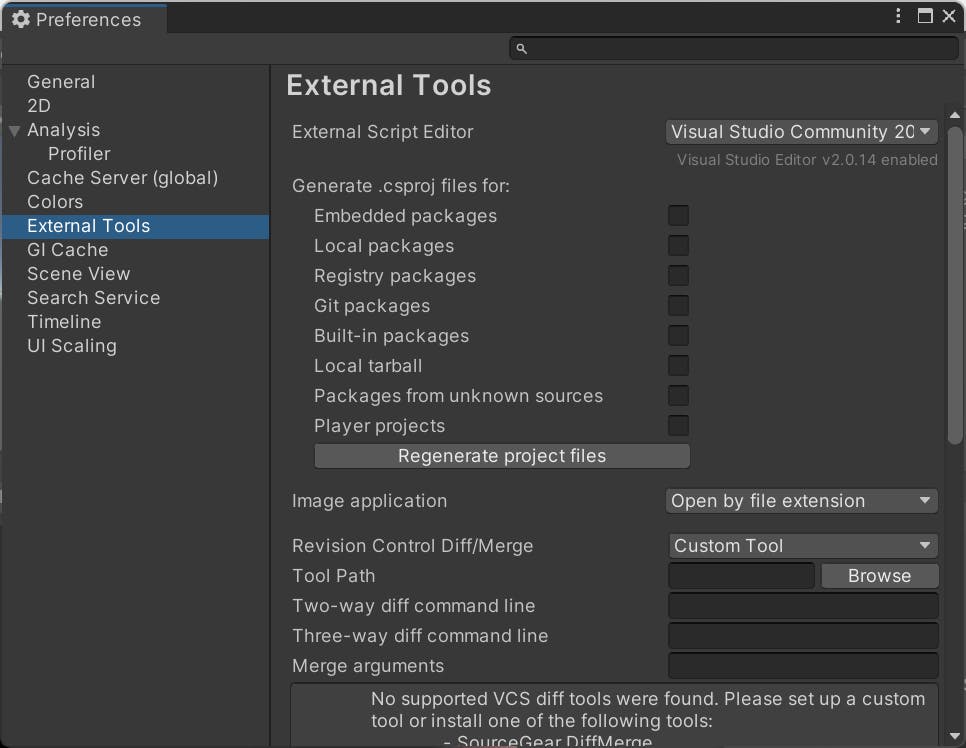
From the first "External Script Editor" dropdown, choose your desired IDE.

We are done with all the steps, now open any script and test whether the Auto Suggesting is working fine : )