
Step-by-Step Guide: Pushing Unity Files to GitHub for Effective Version Control


Are you a beginner at Unity?
Trying to push your project of Unity on Github? But don't know how to do it?
Getting bored with tutorials and blogs and didn't get a satisfactory result? Then you are in the right place.
Prerequisite Things
Install Git on your device. You can install it from here.
Install Git LFS for your large files. You can install it from here. We will talk more about what LFS is in this blog.
You must have an account on GitHub. If you don't have, sign in from here.
What is Github?
Git is a tool/version control system that lets you manage and keep the track of your source code history. Whereas,
GitHub is a cloud-based hosting service that lets you manage Git repositories.
What is Git LFS?
Git LFS (Large Files Storage) is a Git extension used to manage large files and binary files in a separate Git repository.
Unity projects generally include large files like audio, sprites, animation, SDKs, etc which could not be tracked by git itself. So to track and store those files on GitHub we generally use Git LFS which uses a pointer system. This means instead of writing all the codes in your repository it writes a pointer to the file and the file is actually stored on some separate server. Let's get started with Git LFS.
You must have downloaded and installed git and git lfs from the above links if not install them first and then follow up the blog ahead.
Pushing your first project
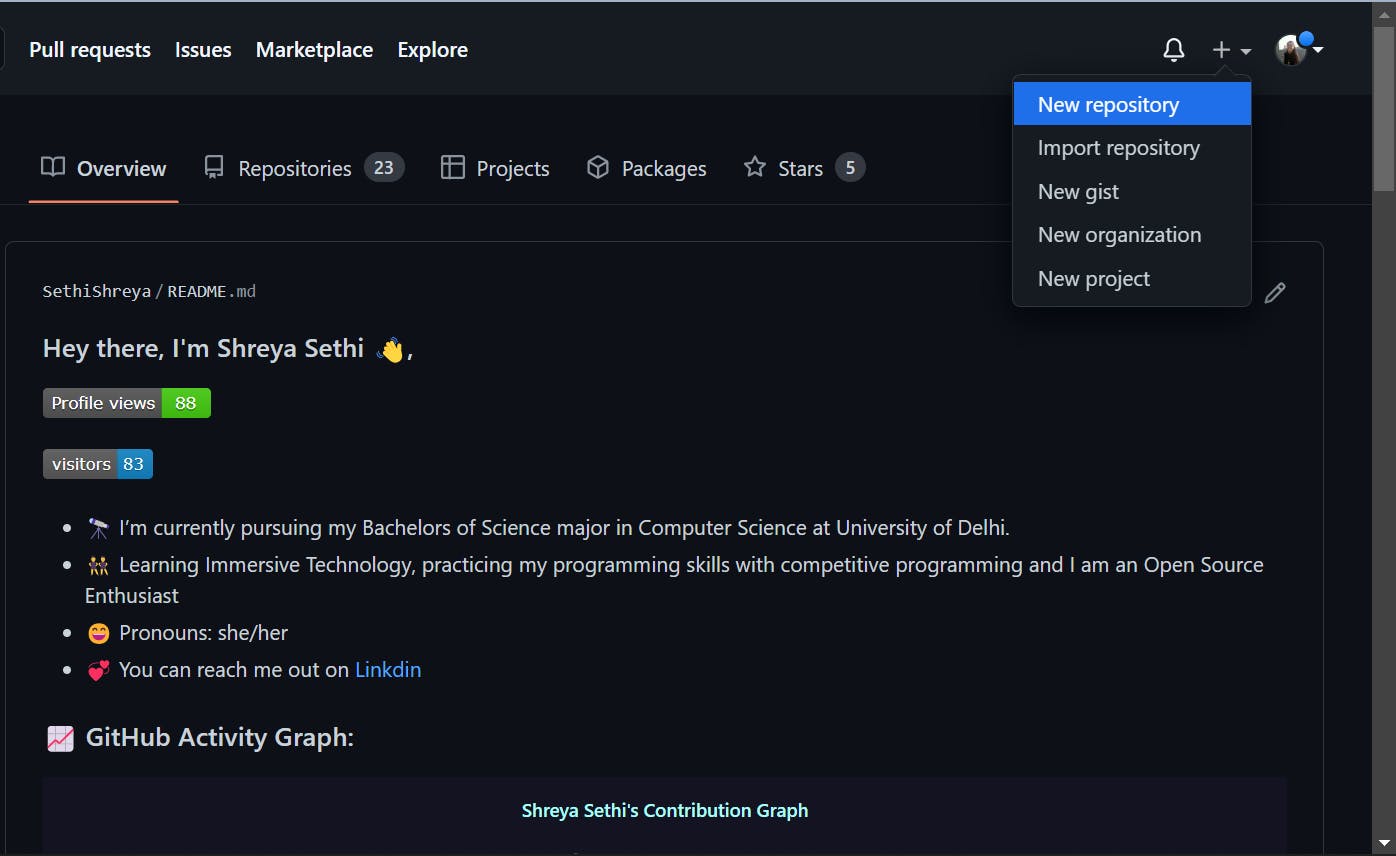
Step 1: After creating your account on Github, make a new repository where all your codes will reside. You can do it by clicking the + icon on the top right column.
Step 2: Name your repository whatever you like, I have named it "MyFirstUnityProject"

Step 3: Leave all the things as it is and make sure your repository is set to Public and then click on "Create Repository"
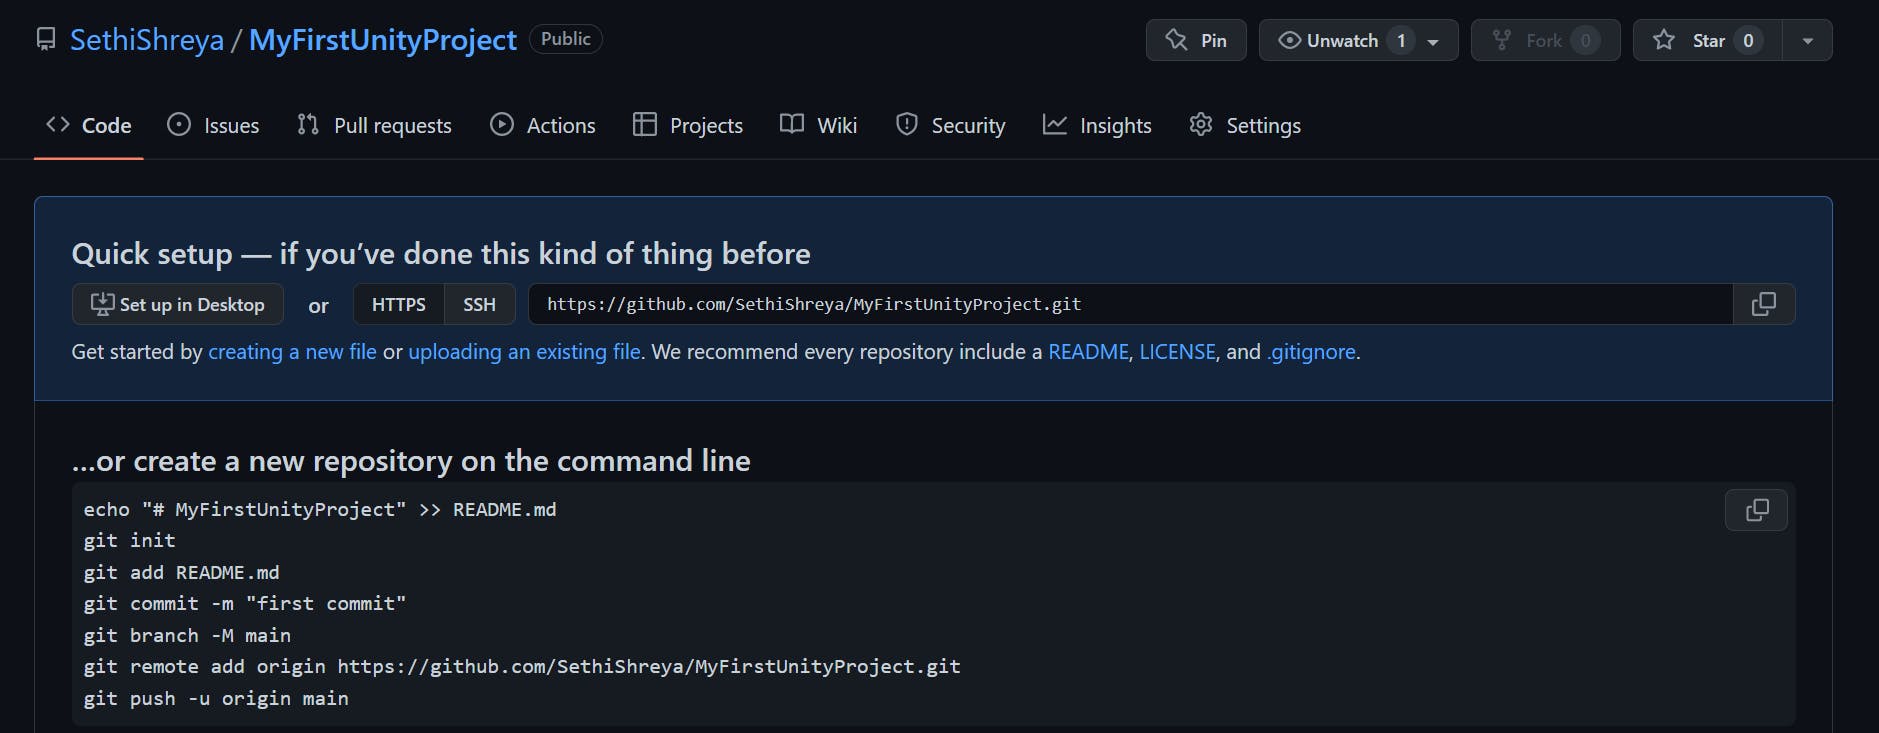

Now you are done with all the steps to be taken in Github.
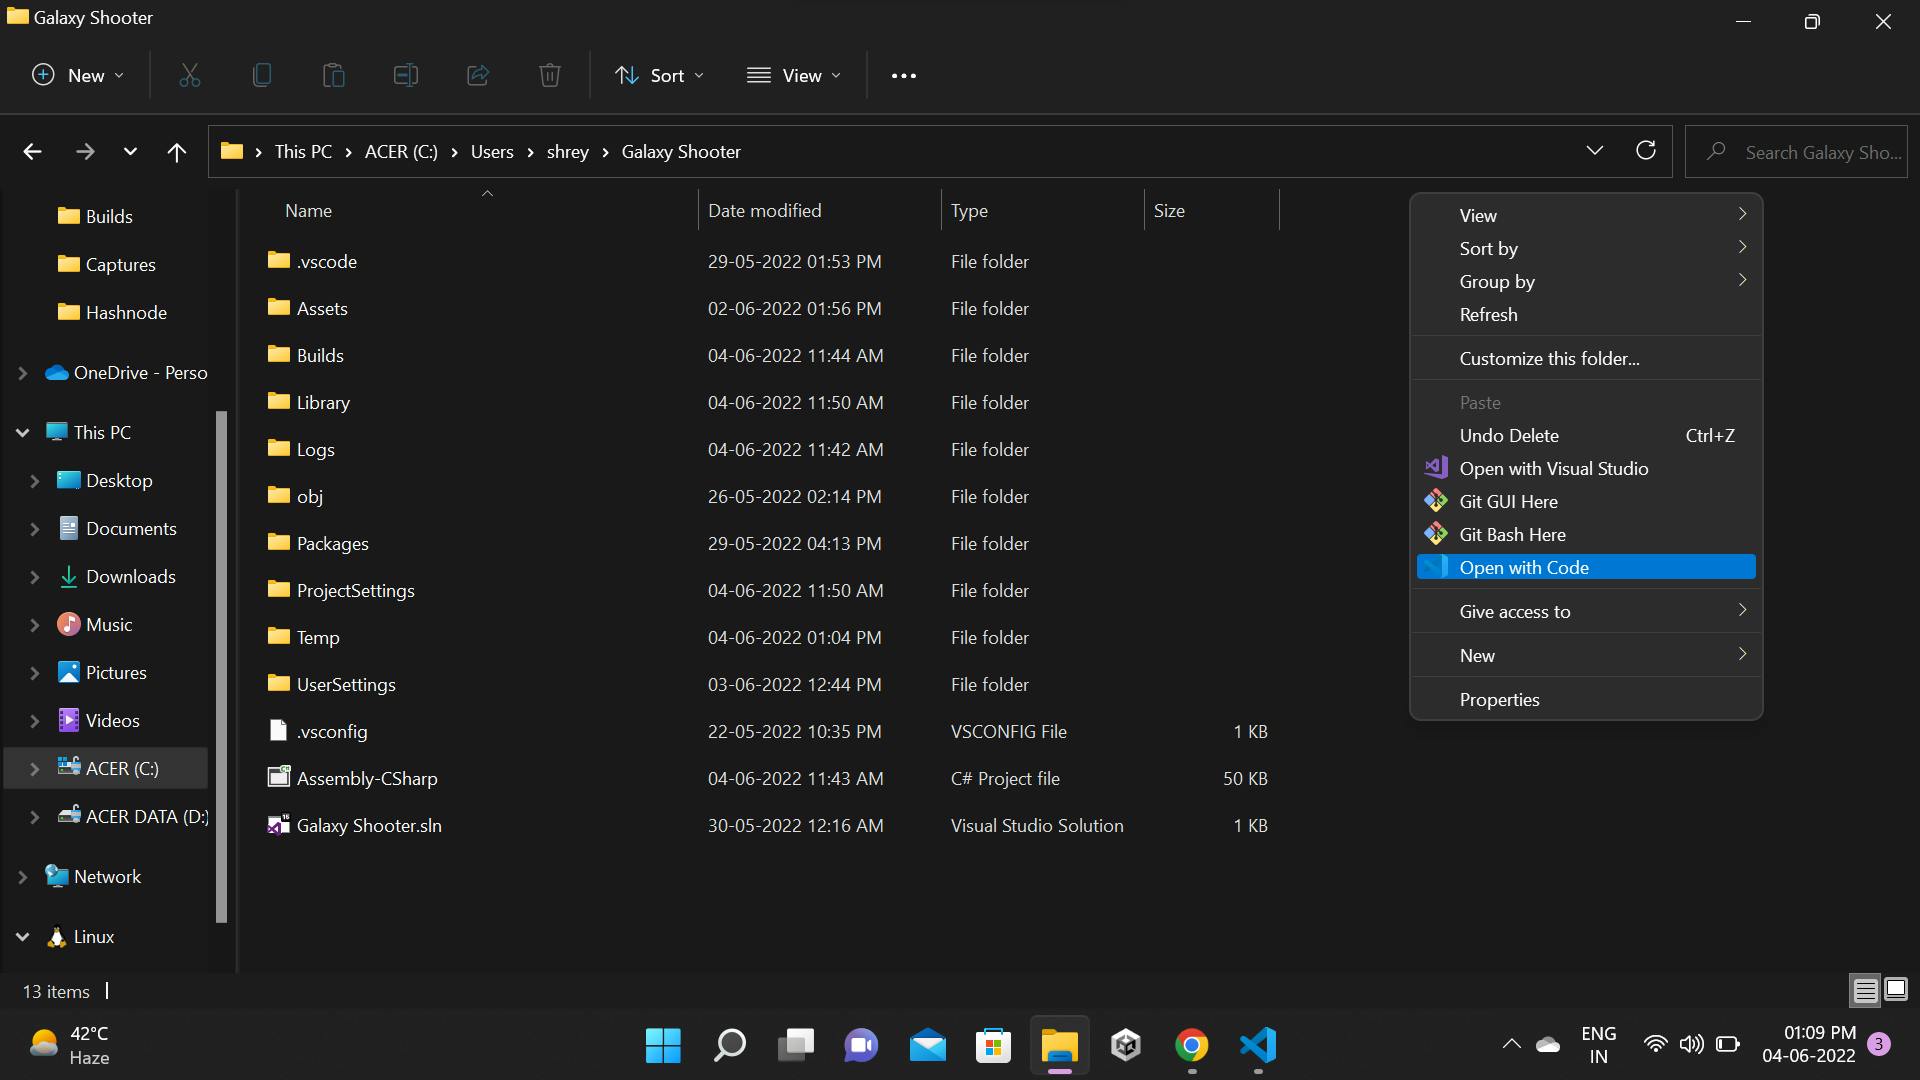
Step 4: Open your IDE in the project folder or you can open Git bash as well. I am opening it in Visual studio code.
Step 5: Open bash in Visual studio code by either going Terminal>New Terminal or with ( Ctrl+Shift+` )
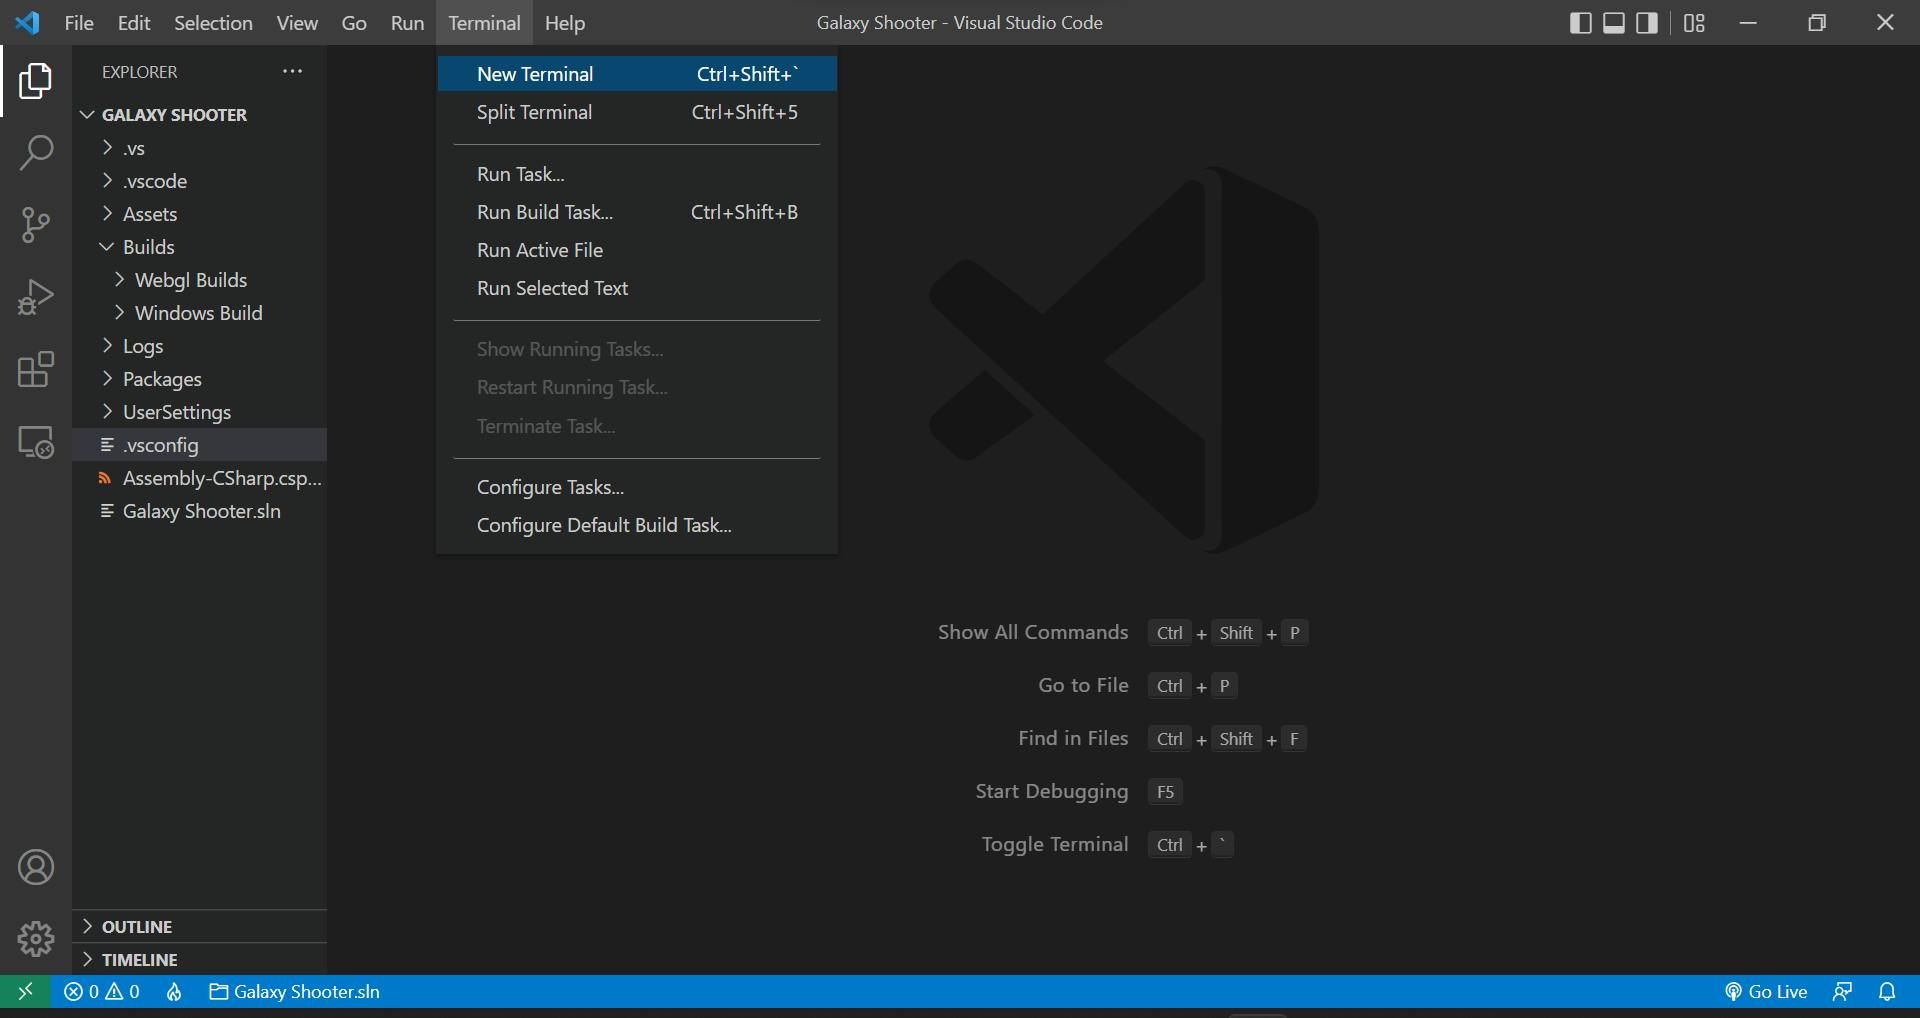
and from the upper right click on the + icon and in the dropdown click on bash.
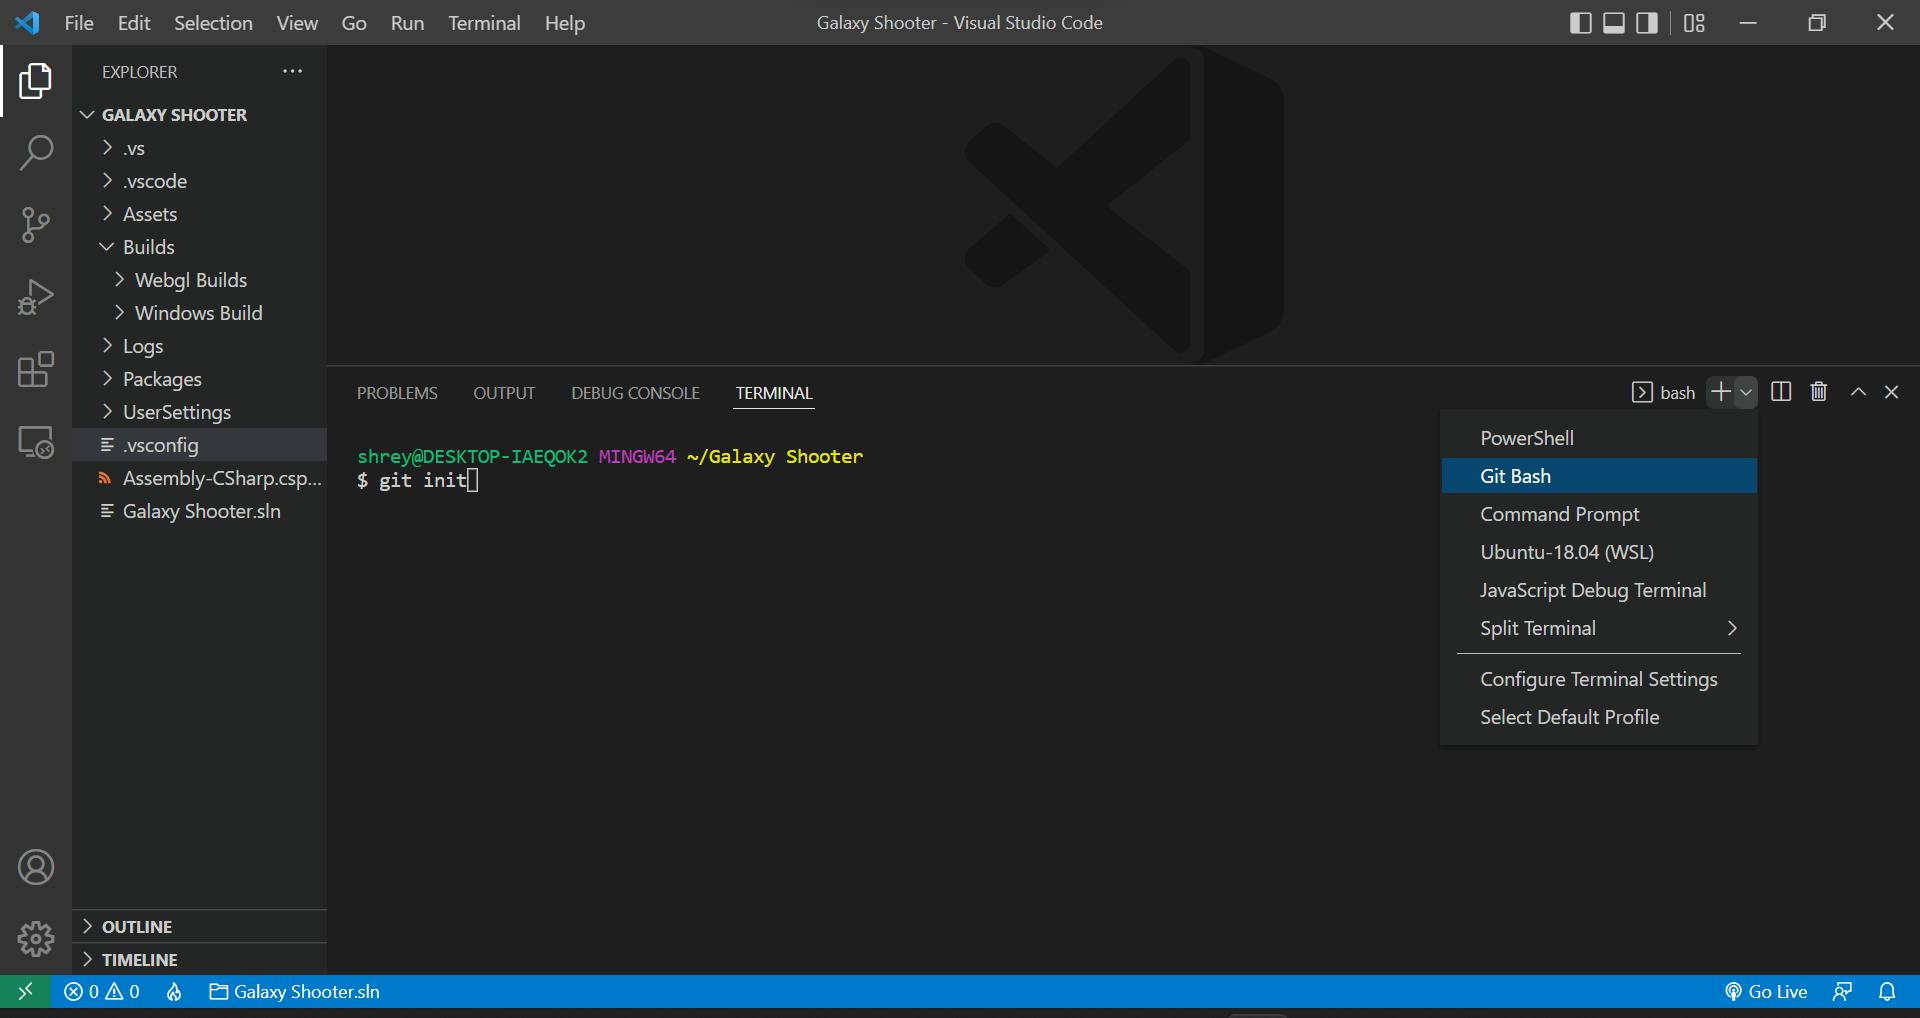
Step 6: Now one by one copy the below code and write it in your bash terminal and press enter to execute it.
git init
//to initialize the git repository in your selected folder

git lfs install
//this will setup git lfs for your account, run this command once per user account

git lfs track "*.psd"
//to track .psd files and it will also create .gitattributes file

touch .gitignore
//to create a .gitignore file to ignore all the files that are written in this file. Copy and paste this [file](Link)
Copy and paste the below codes in the .gitignore file to ignore all these files to be tracked by Git.
# This .gitignore file should be placed at the root of your Unity project directory
#
# Get the latest from https://github.com/github/gitignore/blob/main/Unity.gitignore

/[Ll]ibrary/
/[Tt]emp/
/[Oo]bj/
/[Bb]uild/
/[Bb]uilds/
/[Ll]ogs/
/[Uu]ser[Ss]ettings/
/[Ee]xport/
# MemoryCaptures can get excessive in size.
# They also could contain extremely sensitive data
/[Mm]emoryCaptures/

# Recordings can get excessive in size
/[Rr]ecordings/

# Uncomment this line if you wish to ignore the asset store tools plugin
# /[Aa]ssets/AssetStoreTools*

# Autogenerated Jetbrains Rider plugin
/[Aa]ssets/Plugins/Editor/JetBrains*

# Visual Studio cache directory
.vs/

# Gradle cache directory
.gradle/

# Autogenerated VS/MD/Consulo solution and project files
ExportedObj/
.consulo/
*.csproj
*.unityproj
*.sln
*.suo
*.tmp
*.user
*.userprefs
*.pidb
*.booproj
*.svd
*.pdb
*.mdb
*.opendb
*.VC.db

# Unity3D generated meta files
*.pidb.meta
*.pdb.meta
*.mdb.meta

# Unity3D generated file on crash reports
sysinfo.txt

# Builds
*.apk
*.aab
*.unitypackage
*.app

# Crashlytics generated file
crashlytics-build.properties

# Packed Addressables
/[Aa]ssets/[Aa]ddressable[Aa]ssets[Dd]ata/*/*.bin*

# Temporary auto-generated Android Assets
/[Aa]ssets/[Ss]treamingAssets/aa.meta
/[Aa]ssets/[Ss]treamingAssets/aa/*
Now Continue with the Above steps
git add .
// to track all the files and take them to the staging area to be committed

git commit -m "<Write your commit message here>"

git remote add origin <copy and paste your repository's link here*>

git push -u origin master
// to push your codes to your GitHub Repository
Just refresh your GitHub page and you will be able to see all your folders and files there.
Some errors you might get
If in case you get some errors kinda like this.
remote: error: GH001: Large files detected. You may want to try Git Large File Storage - https://git-lfs.github.com.<br>
remote: error: Trace: 63a488b53055cc71938b40da95b11be9<br>
remote: error: See http://git.io/iEPt8g for more information.<br>
remote: error: File vanilla-app.zip is 129.25 MB; this exceeds GitHub's file size limit of 100.00 MB
To <file name> <br>
! [remote rejected] master -> master (pre-receive hook declined) error: failed to push some refs to  <file name> <br>
This may be because git still gets some large files that are beyond its limit it may be some sdks files so just do some more steps and you will get rid of this error.
Step 1: Remove that file from being tracked, it won't remove it from your device. git rm --cached <filename>
Step 2: Add the name of the file or folder in the gitignore file to prevent it from being tracked
Step 3: Add all the changes made git add .
Step 4: Now commit these changes and push them to your Github repository
git commit -m "<commit message>"

git push -u origin master
Now you must be thinking about how to add those files as well that you have ignored just now, so just remove those files from the .gitignore file and add and commit as done above and that file also get stored in your repository.